The finished movie and the aftermath – immort

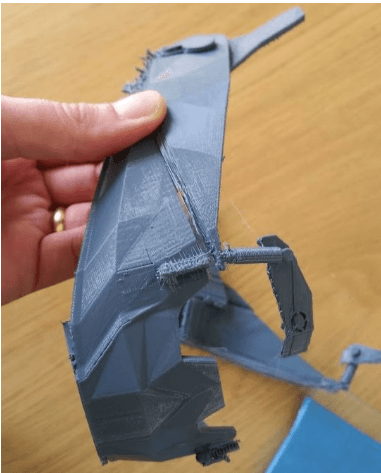
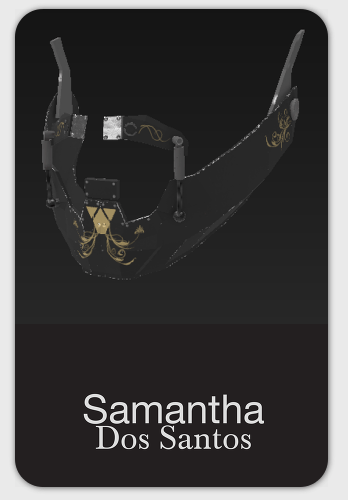
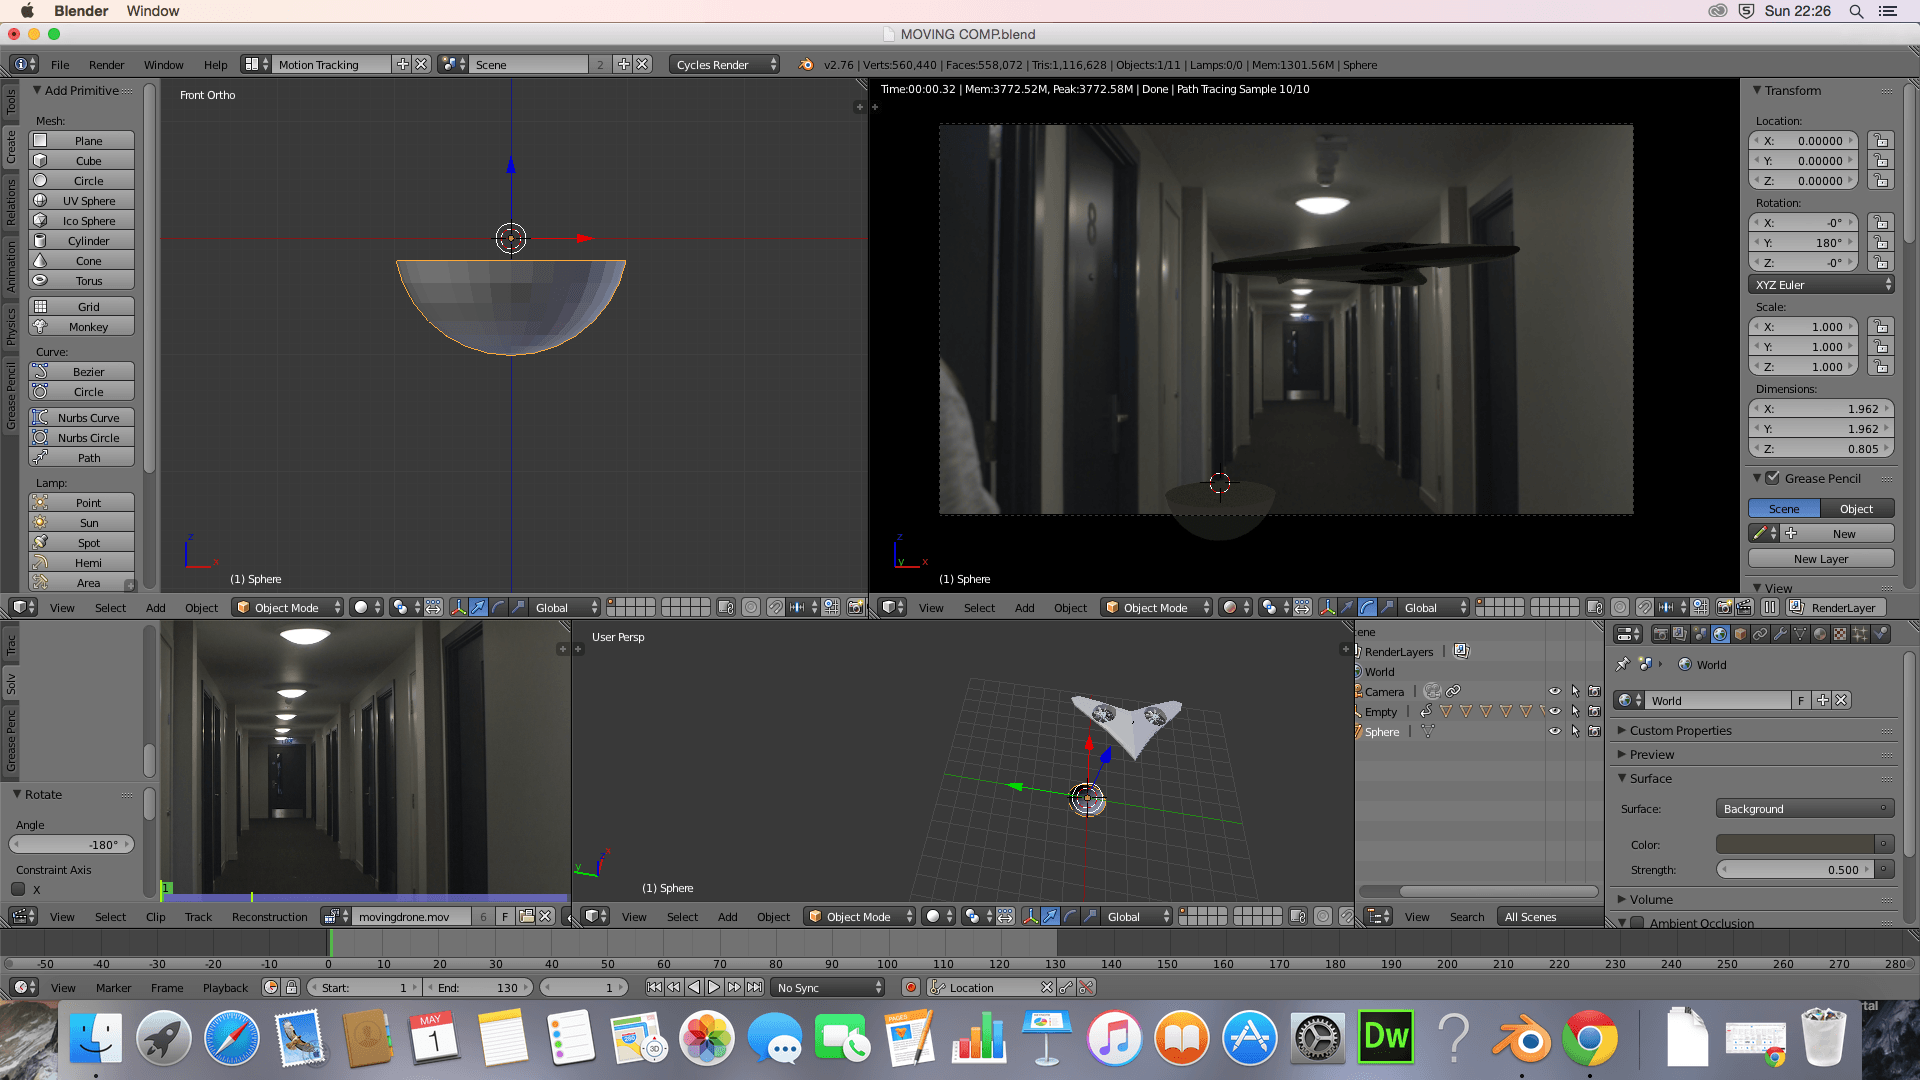
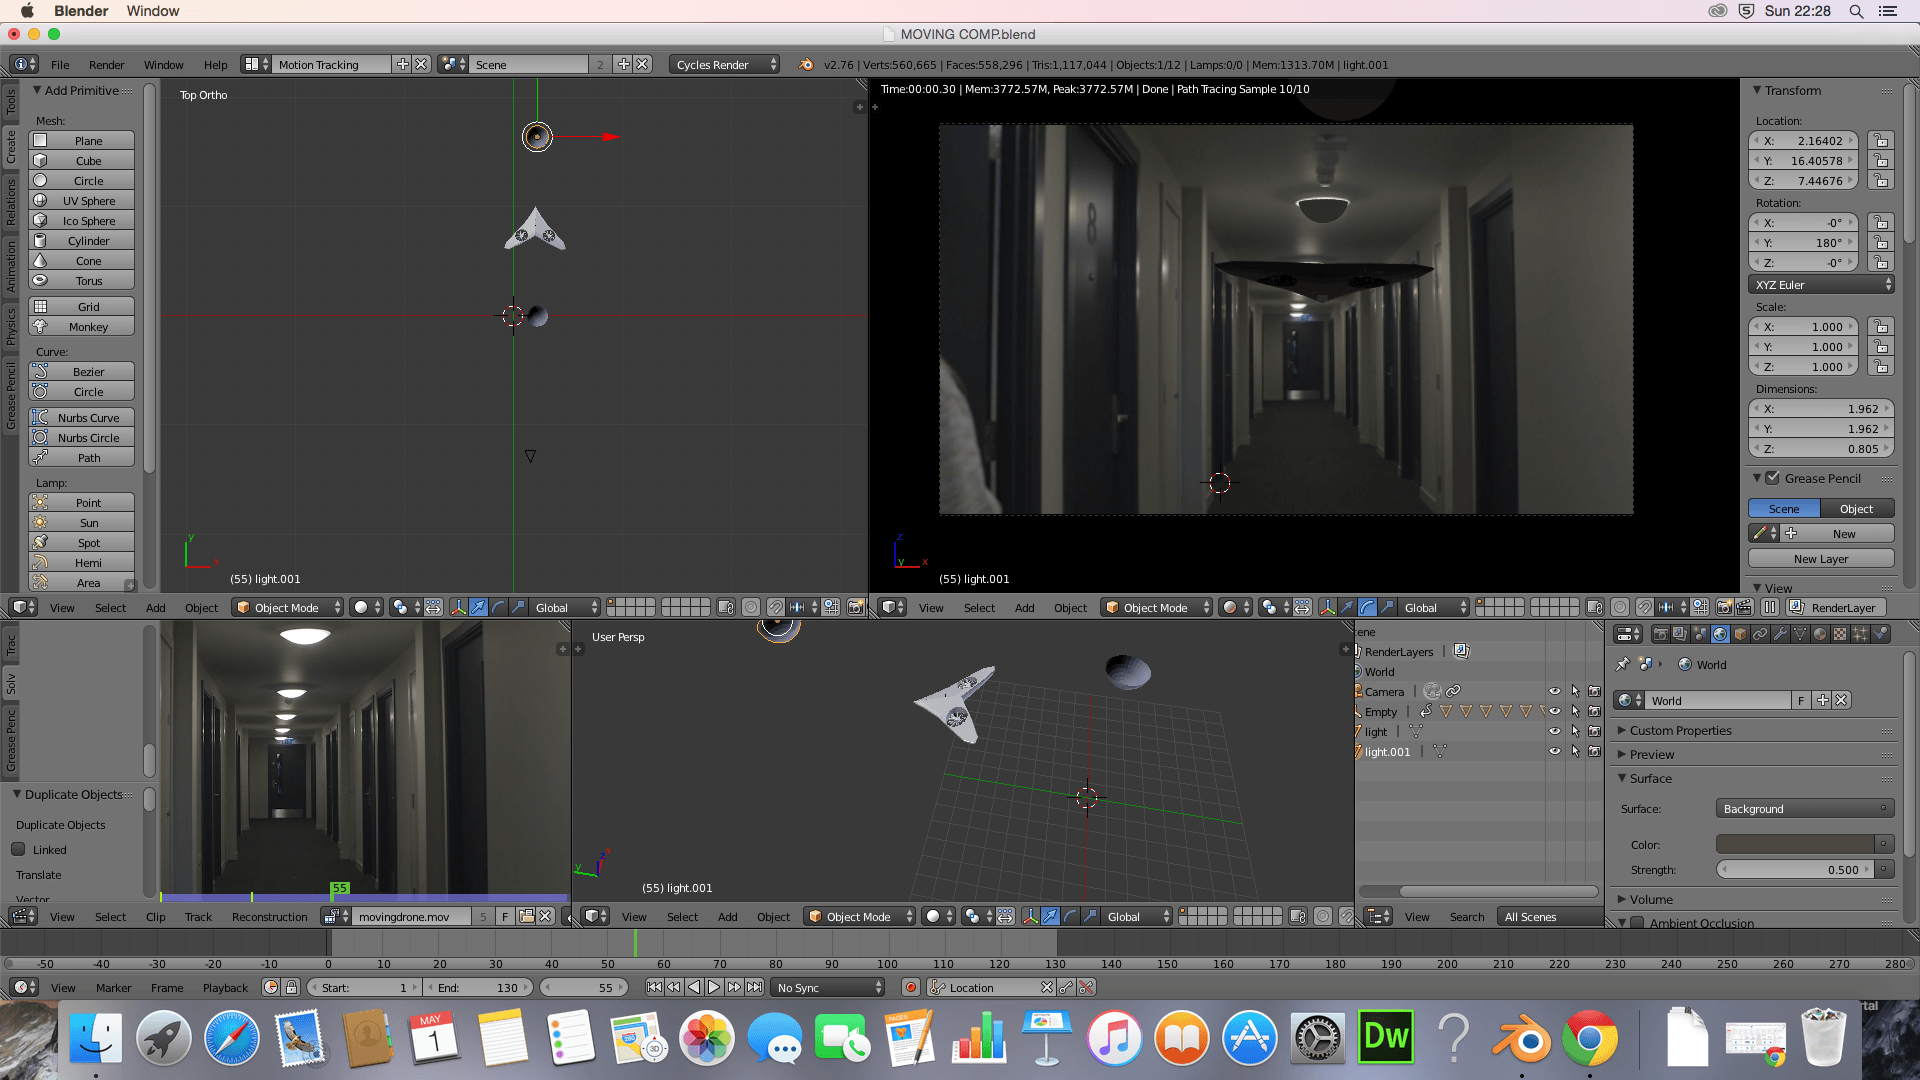
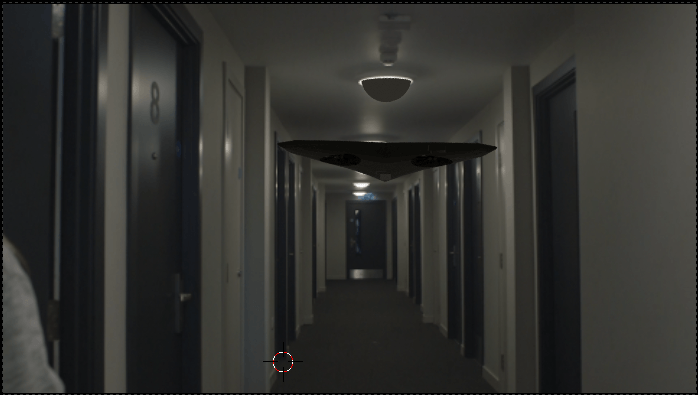
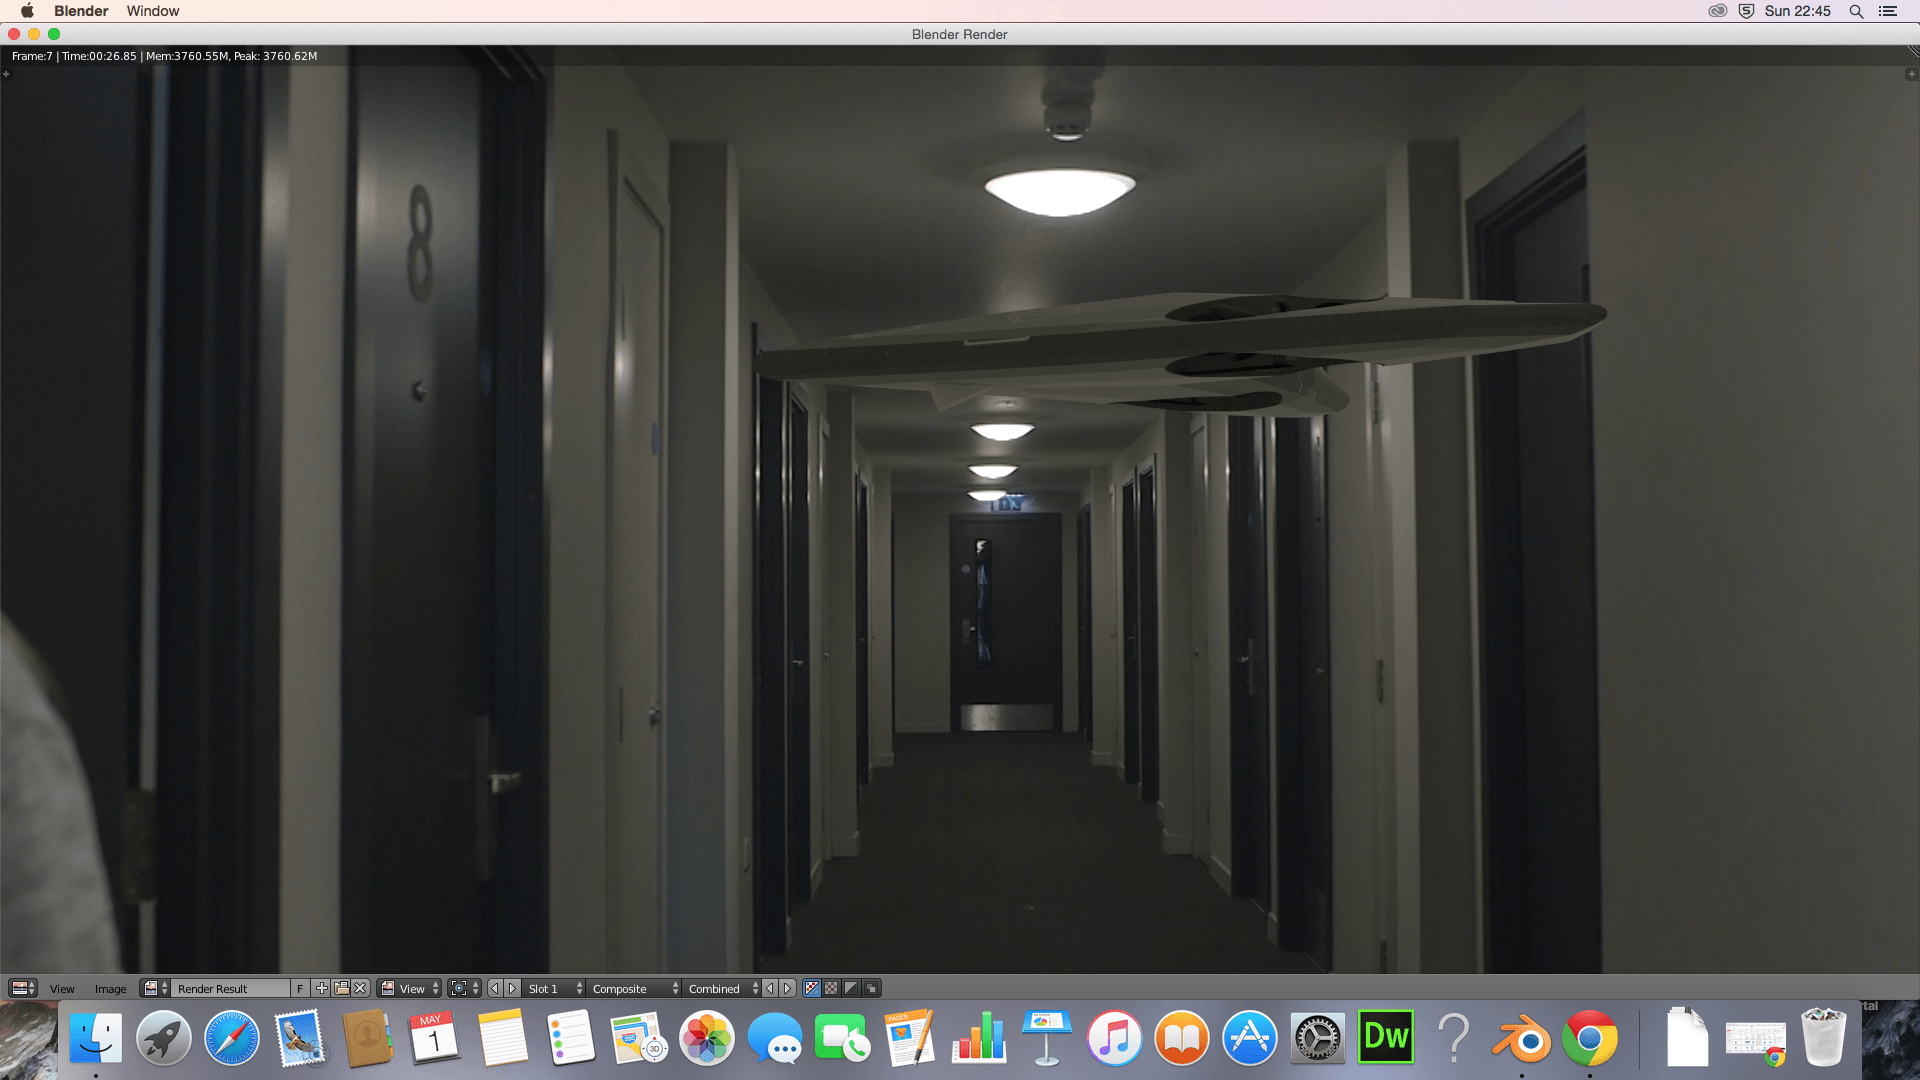
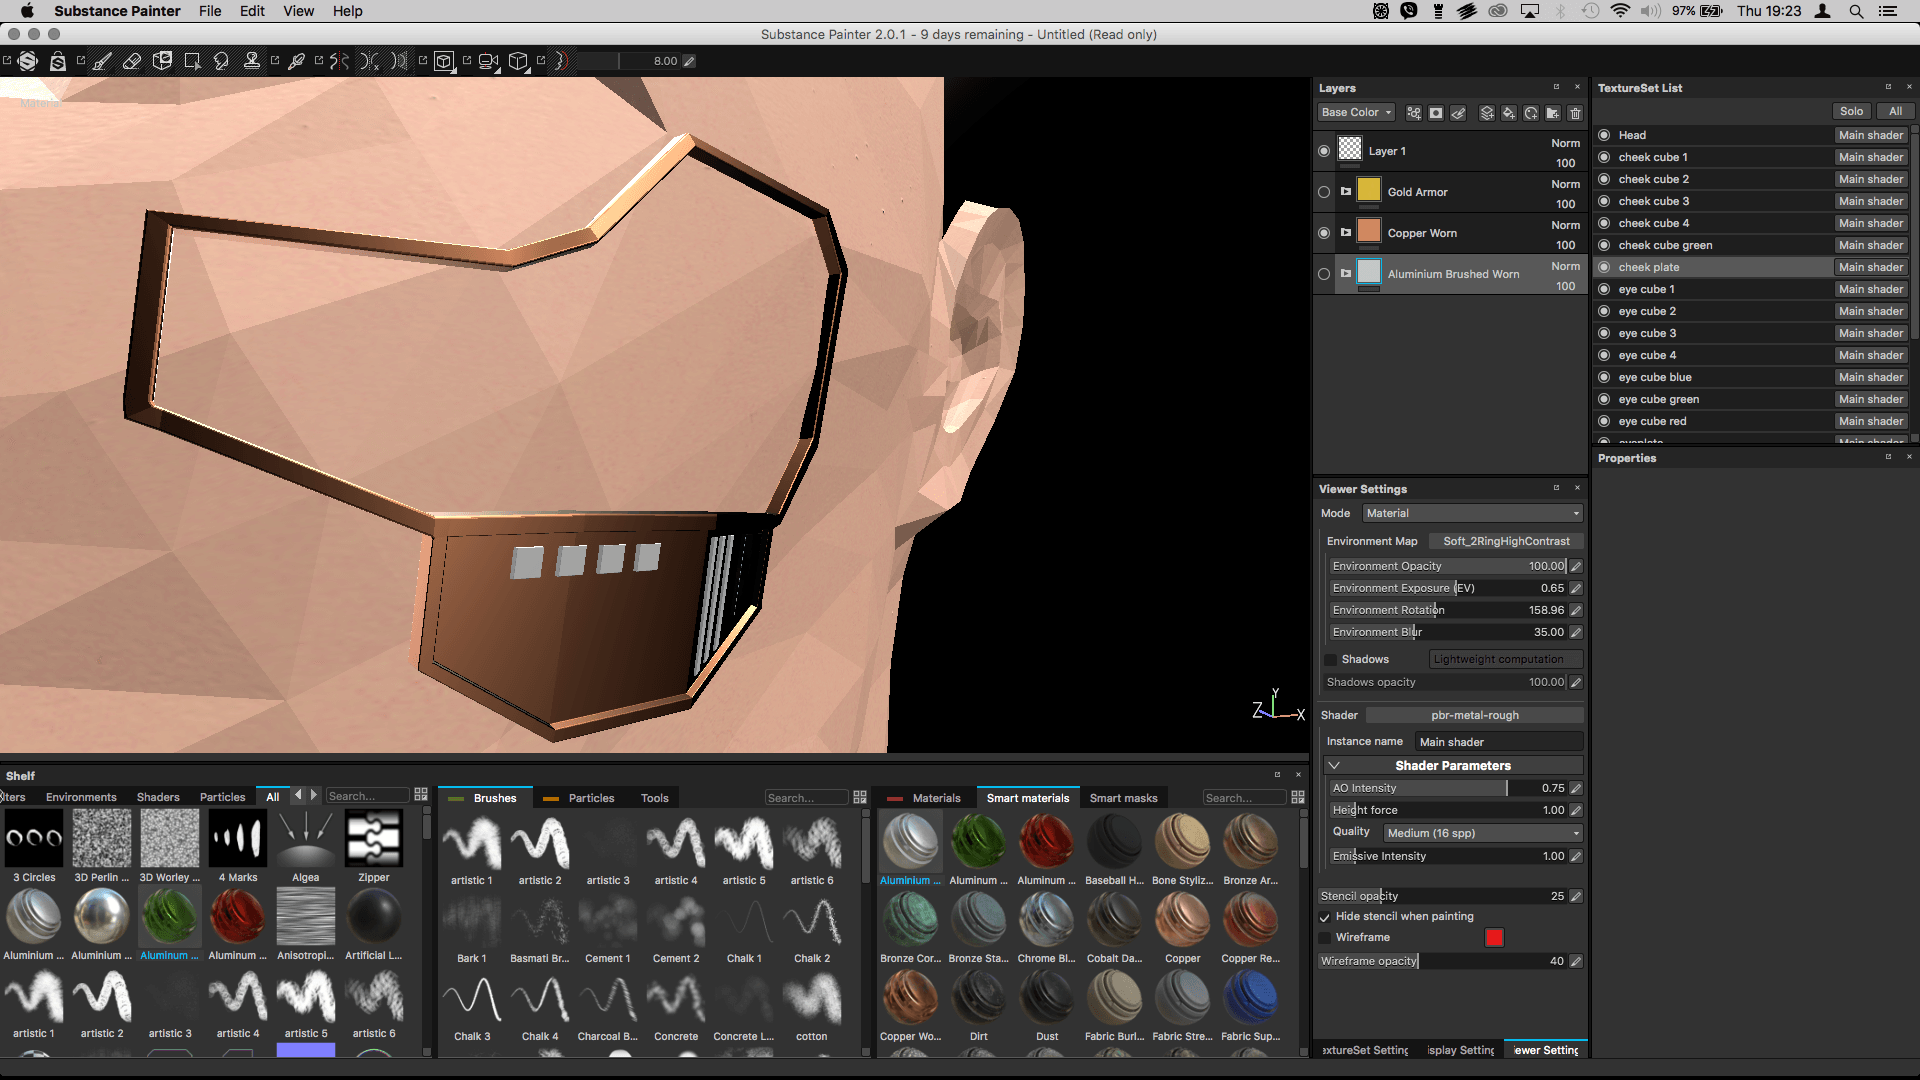
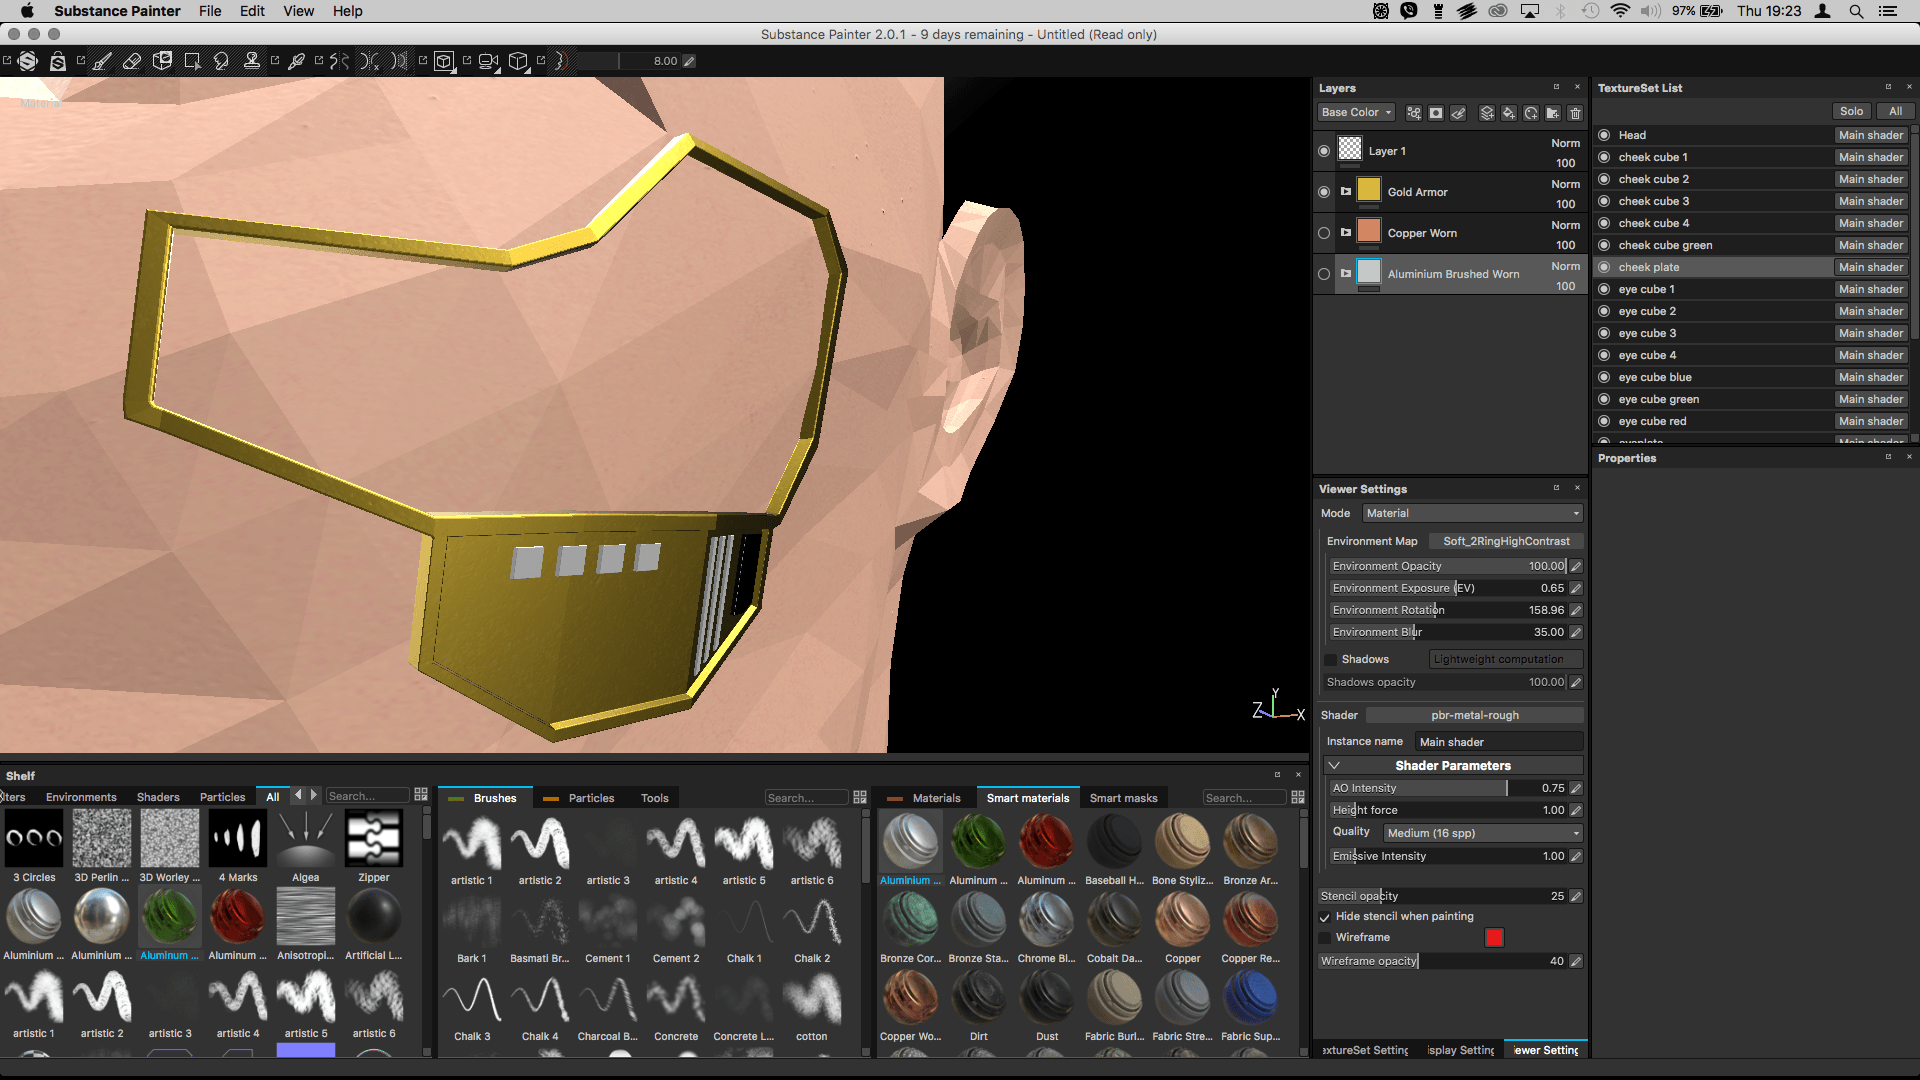
The finished movie is now available on vimeo for everyone to enjoy. We organised a small ‘premiere’ to show our work to friends and get audience feedback. Jacob made sure that we’ve got a location booked out for 2 hours, which was the Emmtec building. Since I was the first one to be done with my work for immort, I took over the organisation of the event. Screen Shot 2016-06-07 at 13.50.53 
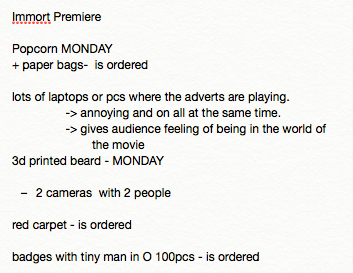
I organised the event while sitting in the digilab with Jacob and discussed with him what we’d like the premiere to be.  So I ordered 3kg of popcorn and popcorn paper bags. I organised several laptops to showcase the adverts that play on the HUDs in the film. This was meant to give the audience a little taste of the film while we set up the film in the lecture theatre. I commissioned my model of the beard to be 3d printed. After the 3d Hub failed several attempts to print it, I decided that we won’t have it for the premiere, but that we’ll have it for the degree show. In order for the beard to be 3d printable I needed to scale it, because my initial model was several houses tall. I did that and then exported it as an stl file. The 3D hub then checked the file and printed it. The second 3D hub that I used successfully printed my beard and sent it to me by post, unfortunately the moustache parts broke off during transport. Fortunately I have a friend who does a degree in conservation of historical items and she kindly offered to fix it. Screen Shot 2016-05-03 at 14.45.43 Screen Shot 2016-05-04 at 14.58.49

Screen Shot 2016-05-06 at 07.11.51Screen Shot 2016-05-01 at 02.37.02

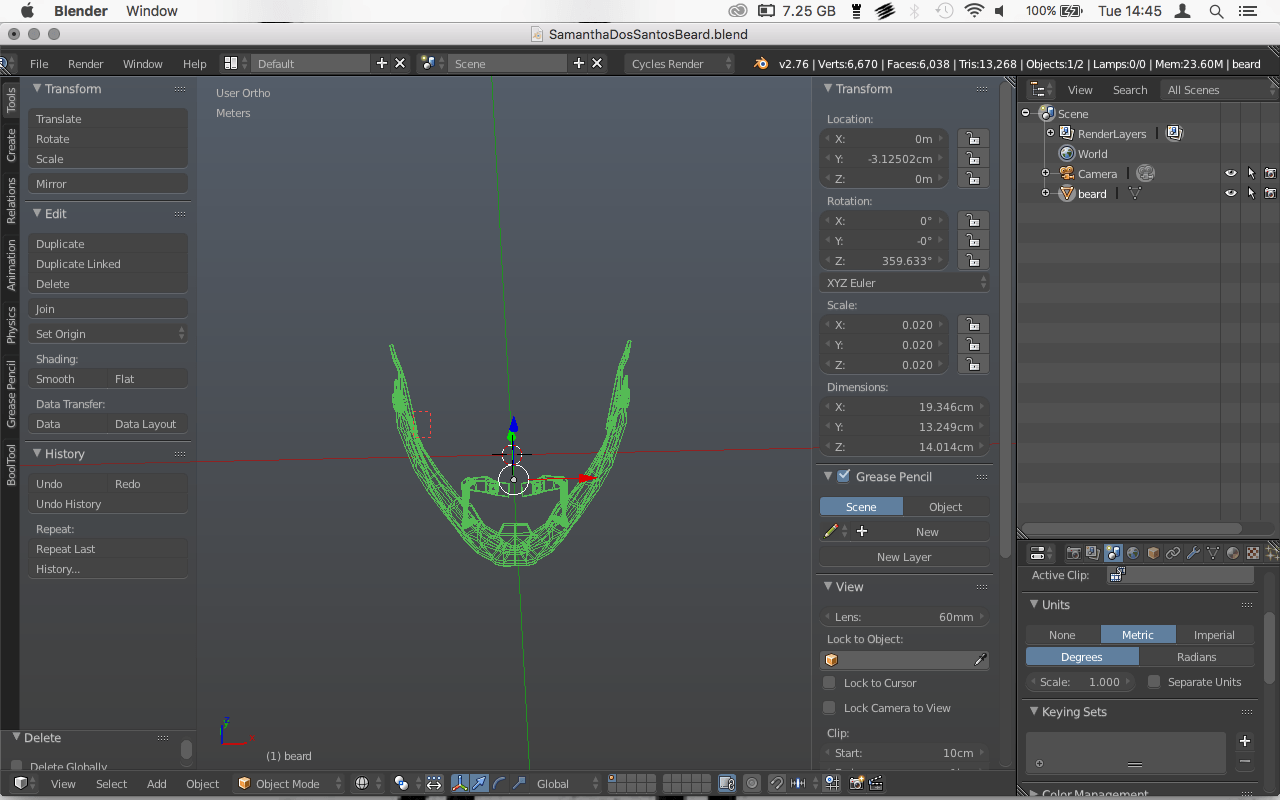
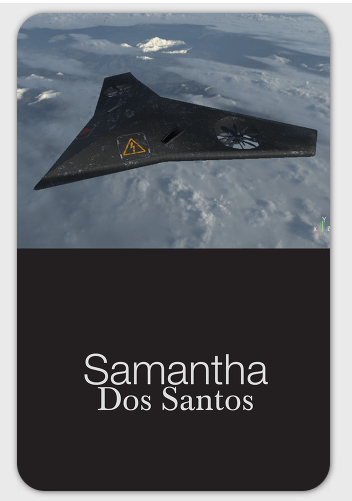
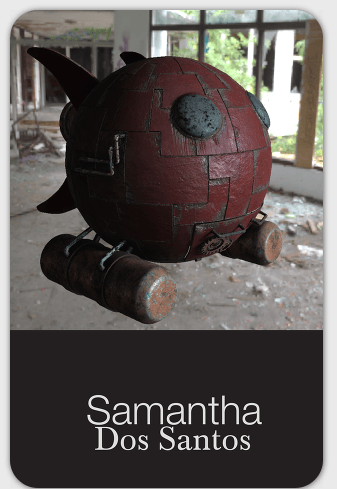
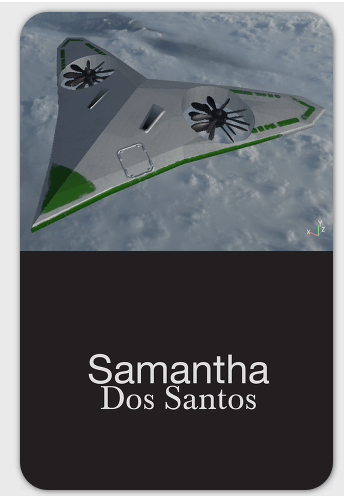
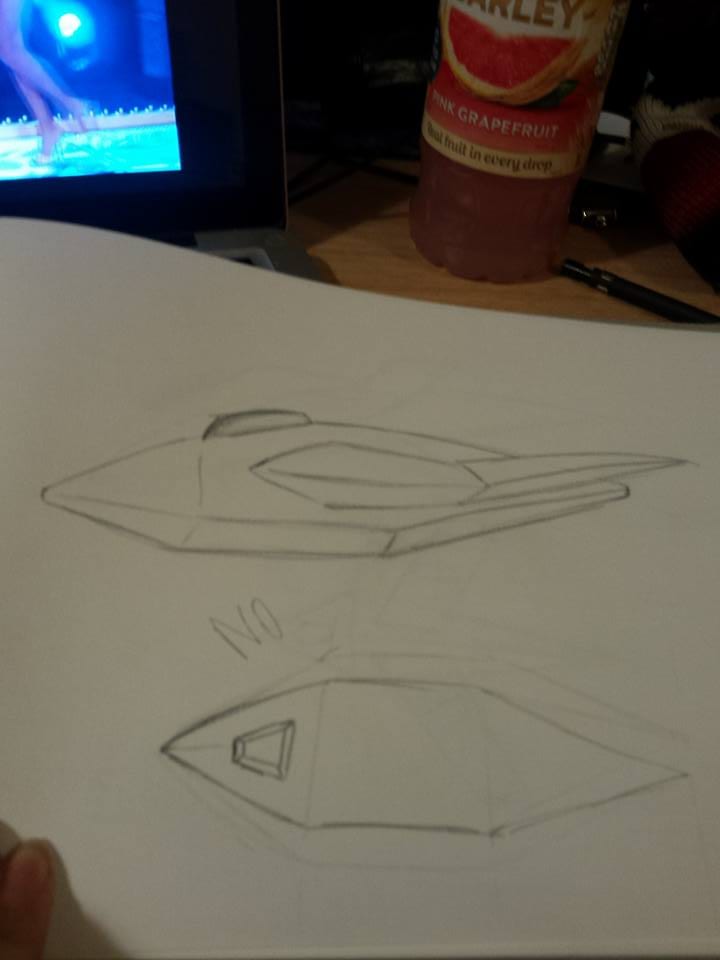
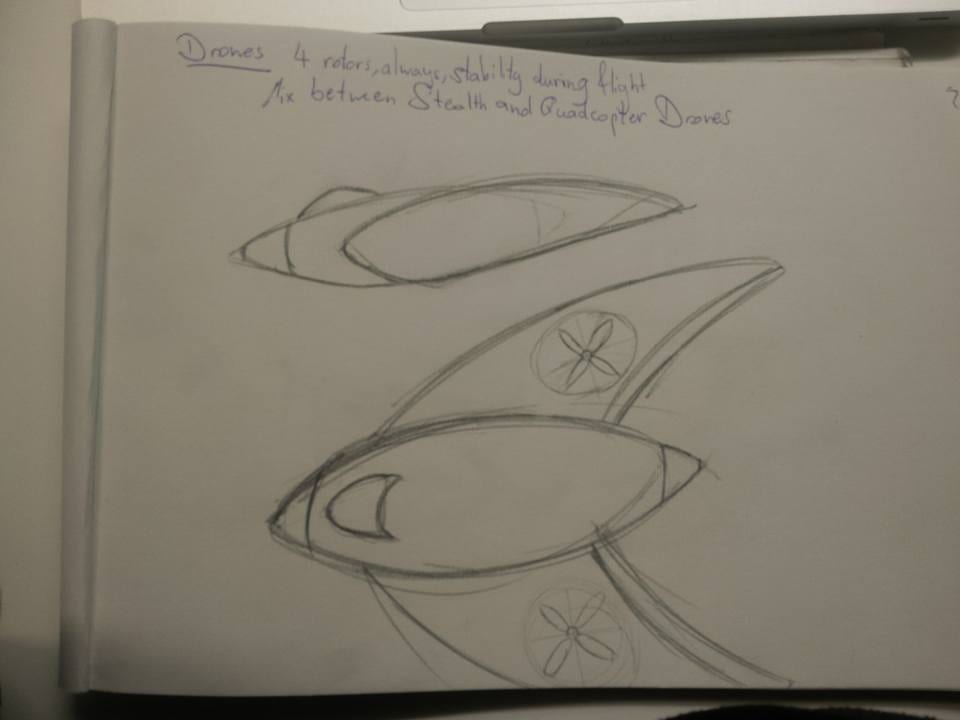
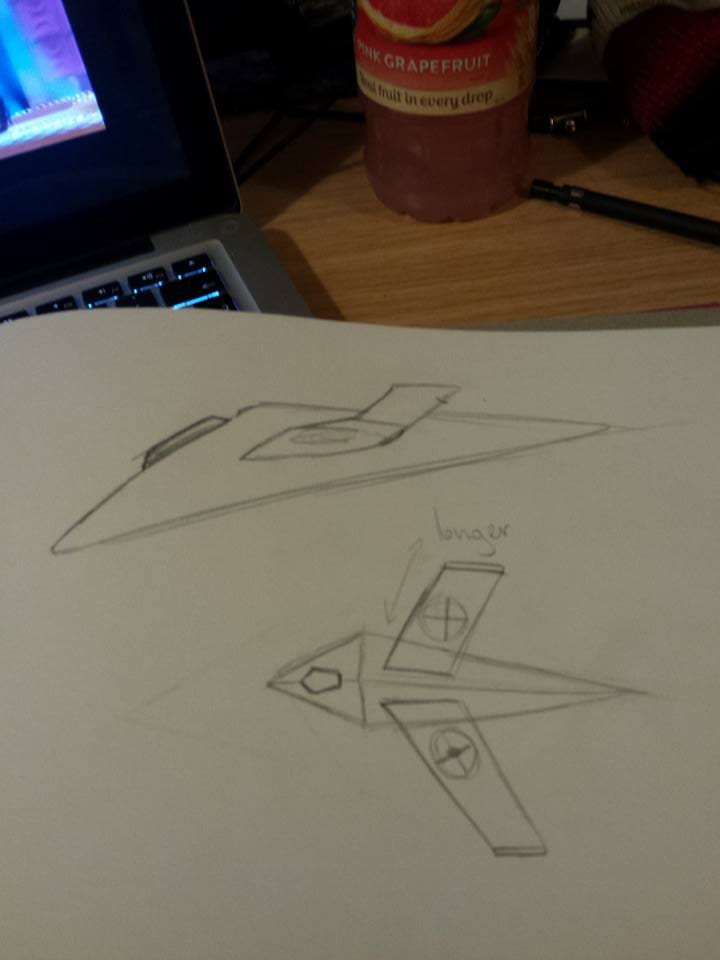
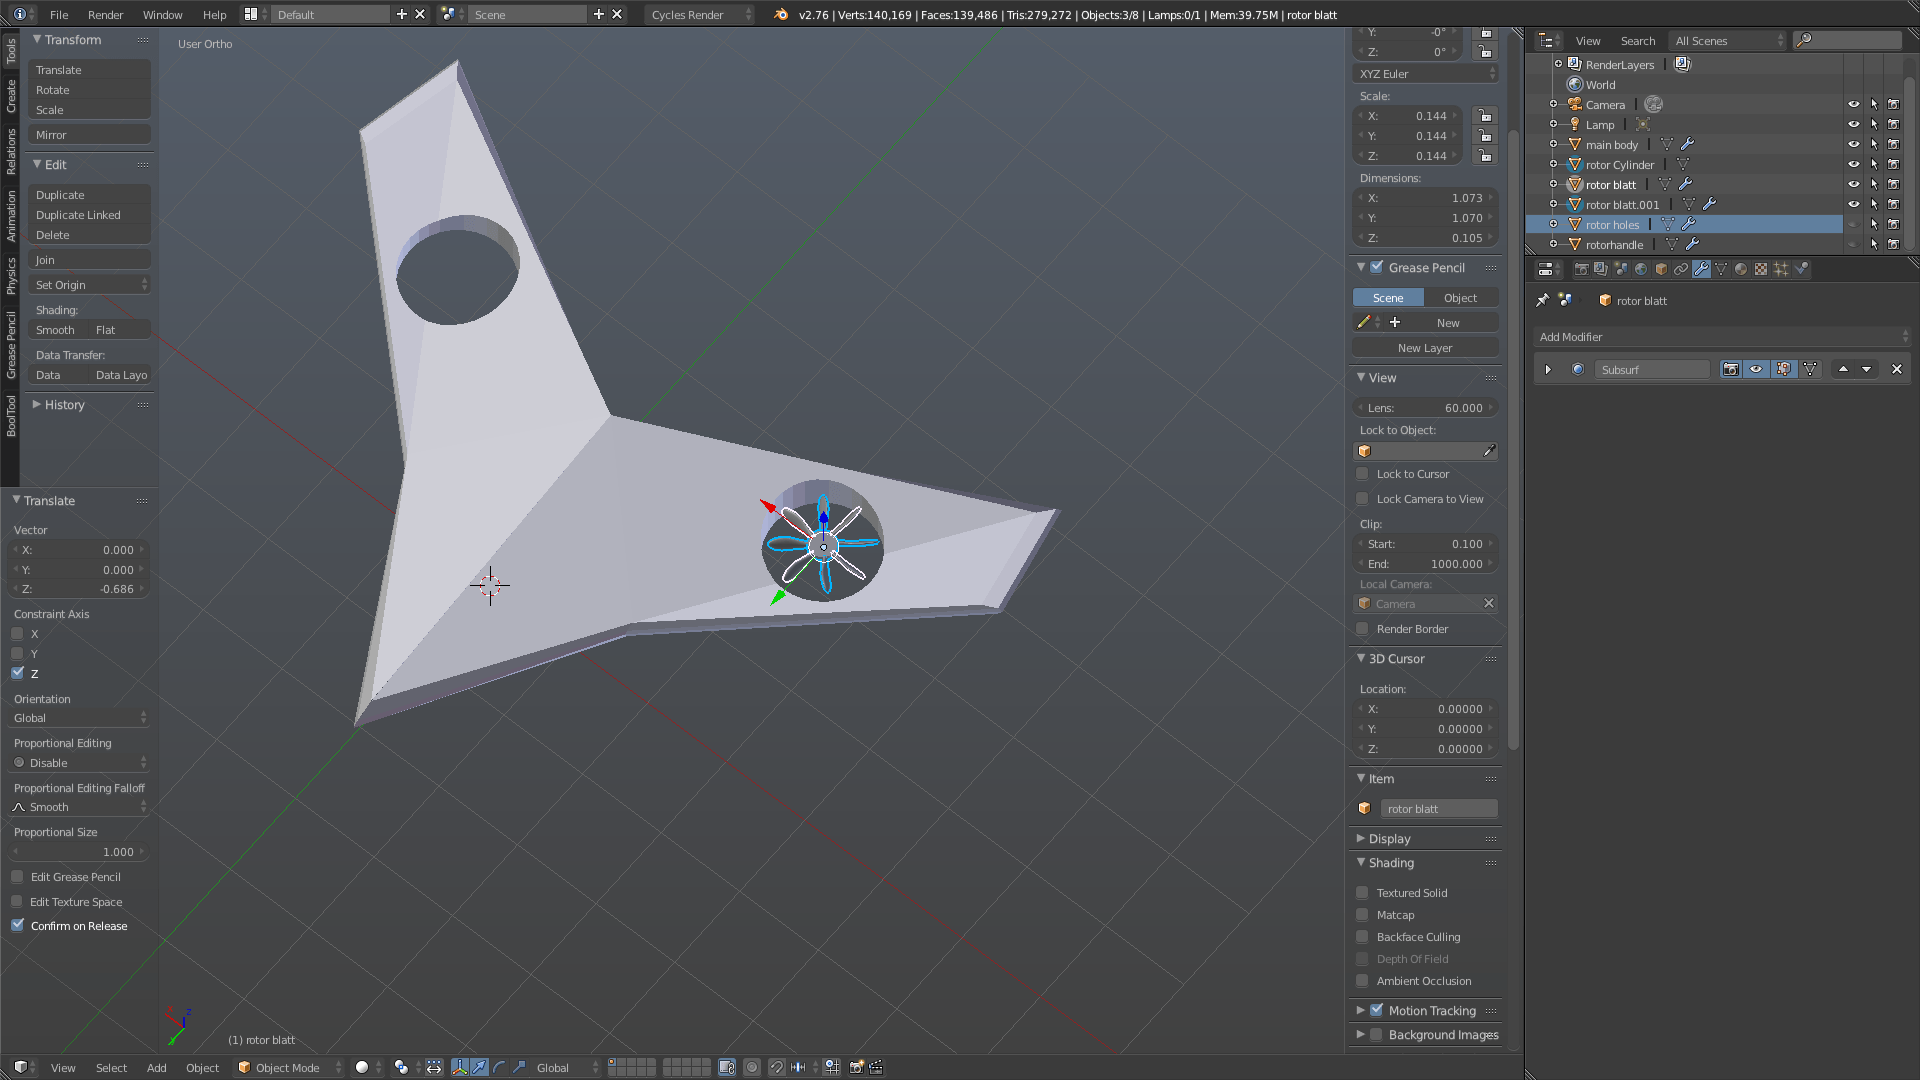
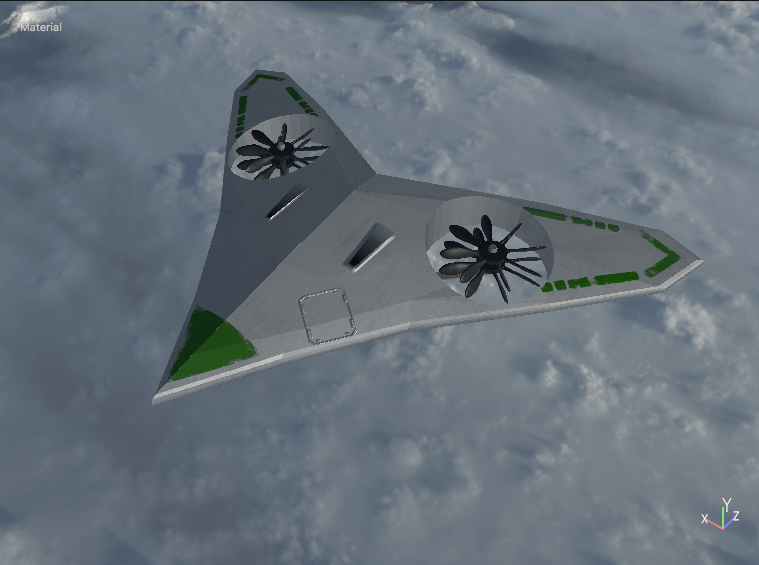
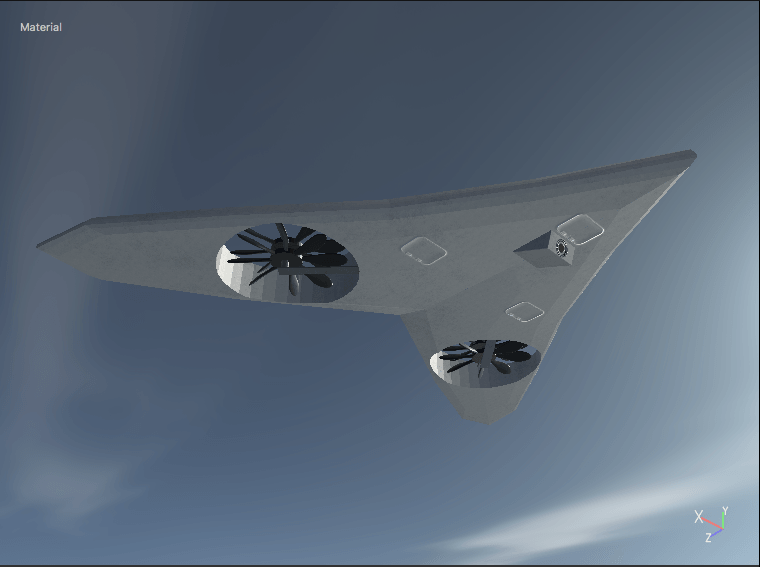
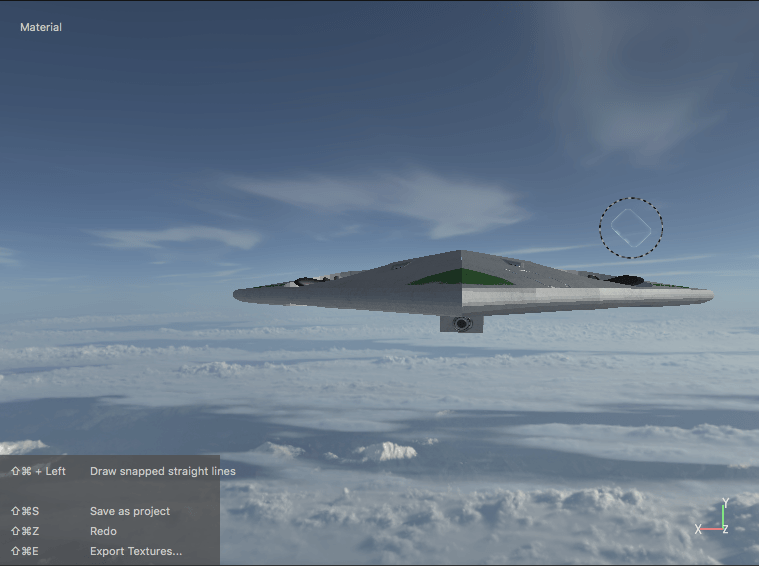
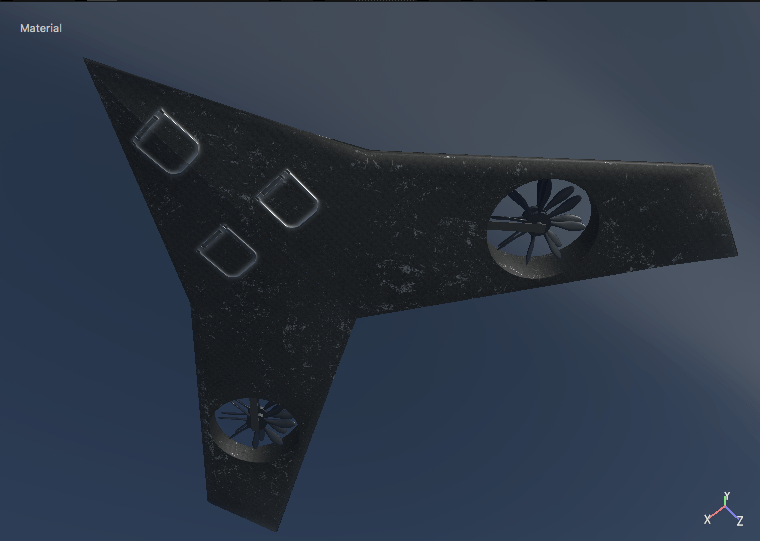
This project allowed me to make business cards for myself, since I now have 3d models that are also properly textured and that I am proud of showing as my work. Hence I made business cards with 4 different backs to show Ship-E from semester A and the drones and the beard from Semester B to hand out at the degree show.
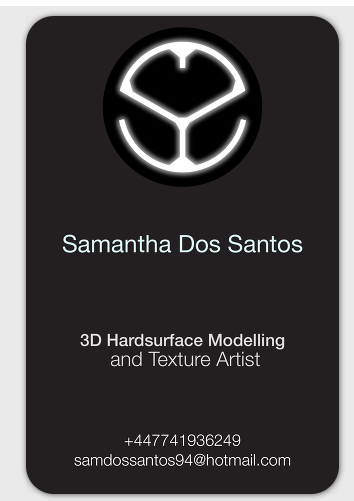
Screen Shot 2016-05-09 at 22.25.48 Screen Shot 2016-05-09 at 22.25.55 Screen Shot 2016-05-09 at 22.26.02 Screen Shot 2016-05-09 at 22.26.07 Screen Shot 2016-05-09 at 22.26.13

Lighting

Something I completely forgot to address in the production file is the lighting of the textured and matchmoved models.

For the lighting in the scenes I made sure to be in cycles render and then I used the commonly used 3-point lighting. So I had a key light, fill light and a backlight that I tried to position the way the lights were positioned on set. In order for me to know where they were, I worked in the digilab with Jacob there, who then told me where the lights were positioned for every scene I had to light. Jacob also told me the colours of the respective lights. I had to adjust the colours and intensity in order for the objects to look believable in the scene and not ‘3D’. I looked at several online tutorials such as this one from Blenderguru and this one , also from Blenderguru to broaden my knowledge about lighting scenes and objects in a 3d space. I used simple planes that I gave a material where I changed its ‘Surface’ value from ‘diffuse’ to ’emission’ in order for it to emit light. I used the colour picker to give the 3D models the right specular colour, so for instance when the beard was lit by the green light I would use the colour picker on the strongest lit point on the actor’s face to get the right shade of green. I then adjusted the size of the plane and the intensity until it looked right.Screen Shot 2016-04-30 at 01.45.19  Screen Shot 2016-04-30 at 03.04.22 Screen Shot 2016-04-30 at 04.42.29


With the following shot I worked in a different manner. Because we can see the lamps that emit the light I cut a sphere in half and positioned these where we can see lamps. I used the colourpicker to give the material the correct colour of the light.

Screen Shot 2016-05-01 at 22.26.04 Screen Shot 2016-05-01 at 22.26.53 Screen Shot 2016-05-01 at 22.28.43 Screen Shot 2016-05-01 at 22.28.45 Screen Shot 2016-05-01 at 22.45.52

This resulted in a beautiful short section where the drone gets lit and flies out of the light which you can see in the very short test video below

The Pill

Screen Shot 2016-03-18 at 14.51.54 (2)I built a simple pill that was supposed to be animated and matchmoved into a cup, but due to a lack of time and tracking points, the pill in the cup was a 2d job. Pill

I built the pill by extruding 2 cylinders and making them hollow inside, because the pill was supposed to be transparent and have a fluid animation inside of it.Screen Shot 2016-03-18 at 16.14.44 (2)

We ran out of time, so I suggested to Jacob that we should make the 3d modelled pill a similar dark green colour than the real one in the footage that it was supposed to replace, so that Jacob or James wouldn’t have to do any more masking and pill replacing.Pill1 I gave the model of the pill with the textures to Lyon so that he could do a particle animation with it and then insert it into his animation. Since this happened across different computers, I led Lyon through the process of reattaching the texture to the pill. He struggled with that, so I decided to just let him give the pill a simple green material, which was easier and worked in the end just as well.

The drones

For the drones I did some visual research on military drones, package delivery drones and quadcopters. I then concluded that the design of my drones should be a mixture of all 3 to make for an interesting look. 12644830_10206553648452634_5270200576074381969_n 12654359_10206553648612638_1857080627460189087_n 12662443_10206553648132626_7084175770930795549_n

I created 2 different drones for the movie, a friendly looking one that is merely a messenger, so it flies around and delivers hologram messages, and a patrolling ‘mean’ looking drone, to enforce the feeling that technology is invading our privacy in the movie’s world. I built the drones by extruding a cube and adding one more cube to its side to built a wing.

Screen Shot 2016-03-13 at 18.13.19 (2)

I built several different shapes until I found one that I was satisfied with. I then cut the drone in half and mirrored everything with the mirror modifier to ensure that the drones are symmetrical. The Drones main shapes are very simple as I again wanted to leave the biggest job to texturing. I used a boolean operation on the drones to create the wholes needed to place the rotors in.Screen Shot 2016-03-13 at 21.55.24 (2)Screen Shot 2016-03-13 at 21.17.44 (2)

I built the rotors by joining a mesh that I multiplied by using an array modifier with a basic cylinder. These meshes are rotor blades, that I created by scaling a cube and applying a subsurface modifier on it.

Screen Shot 2016-03-13 at 19.23.13 (2)

I tried to built different bottom pieces for the drones to land on, until Jacob suggested to not have any, because these drones would not land. Since I did not like the idea of having drones that have nothing on the bottom, I added 3 hatches through texture later on. The idea is that the tires or legs are retracted into the body of the drone while flying, similar to planes’ tire systems.

Screen Shot 2016-04-18 at 19.52.22

Screen Shot 2016-03-15 at 16.26.15

The white drone has been decorated with green stripes, which makes it visually more interesting. It’s rounded off shape combined with the bright and friendly colours give this drone its friendly look. White generally stands for peace, goodness and hope, green stands for life, growth and safety. I used a colour theory wheel that the Mill posted on twitter to determine the drones’ colours.Screen Shot 2016-06-06 at 11.12.56Screen Shot 2016-04-19 at 20.02.36 Screen Shot 2016-04-19 at 20.03.02 Screen Shot 2016-04-19 at 20.09.00

The black drone has sharper edges and its dark appearance makes it look mean and dangerous. Black is intimidating, and stands for evil, death, mystery and power, which therefore was a good choice for a patrolling drone.Screen Shot 2016-03-15 at 16.26.43Screen Shot 2016-04-18 at 19.52.59 Screen Shot 2016-04-18 at 19.53.52 Screen Shot 2016-04-18 at 23.44.45

I didn’t have the time to make all my alphas myself, but I did make 1 alpha plate myself. One of the chinese warning signs was a normal sign that I found on google. I put it into photoshop, set the files colour settings to grey scale and made sure to only have black and white and not too many shades of grey in the file.Screen Shot 2016-04-18 at 18.38.03 Screen Shot 2016-04-18 at 19.00.46

I added some imperfections to it, exported it as a tiff, imported it into Substance Painter and then used it on the black drone. I also downloaded a very useful alpha brushes pack which I used to create the hatches and the vents on both drones. Below you can see 2 texture test videos I made to see how the texture reacts to light and to show my progress to the team and get feedback on it.


The cybernetics

For the cybernetics I took inspiration from Star Trek’s ‘Borg’ alien species that are cyborgs and hence use cybernetics. I did some first sketches for the cybernetics, that Jacob instantly approved of, so the design did not change after my first sketch. At first, i wanted to created pointy, bulky cybernetics with sharp edges for men, and subtler, much thinner ones for women, but due to not having enough time I only created the men’s cybernetics and decided that they’re unisex enough to go on women’s faces too.

12643017_10206549252702743_7876553760448526981_n

I didn’t have any problems or difficulties when modelling the cybernetics because I built them by only using cubes that I scaled accordingly. I wanted to shorten my modelling process and hence left most of the work , concerning the cybernetics, to the texture.

Screen Shot 2016-03-23 at 14.12.35 (2)I wanted to give the cybernetics a similar look to the beard, so that this would create continuity and the illusion of them having been produced by the same company. Hence, I used the same coated aluminium material on the cybernetics that I used on the beard, also because the material choice makes sense in real world terms. I again combined geometric shapes with elegant floral ornaments, but this time I decided to make the metallic paint silver instead of golden, so that the style of the cybernetics comes back to the cyberpunk aesthetic of the movie.Screen Shot 2016-04-20 at 05.34.25 Screen Shot 2016-04-20 at 05.53.16

On the very shiny metal parts of the cheek and the eyebrow cybernetic I placed fingerprints, to make them look more interesting and more used. Since the cybernetics are on the face, they would get touched a lot, so fingerprints make sense.

Screen Shot 2016-04-20 at 05.53.42

Screen Shot 2016-03-24 at 19.23.18 (2) Screen Shot 2016-03-24 at 19.23.26 (2) Screen Shot 2016-03-24 at 19.23.34 (2) I did a few tests beforehand, to see which material the cybernetics should be made out of and asked for some feedback in the group. I also created a quick screen recording to show the different materials.