The final beard – Texture

For the beard’s texture I had to UV unwrap it and bring it into substance painter. As I did that, I noticed that the spheres at the end of the pistons were see-through, similar to Ship-E’s tanks and exhaust in Semester A. Since this happened to me already, I knew instantly to go back into the blender file and recalculate the normals. This fixed the problem in no time and I could proceed to texture the beard.

I created a smart material for the beard that consists of Aluminium coated with silicone, that has scratched edges to show that the beard has been in use, it has some dirt and dust on it to add to the aesthetic of the beard having been used. This dirt and grime allows for the object to seem more tangible, believable and real. Aluminium doesn’t rust or oxidise, hence it is a good choice for objects that are in constant contact with human skin and humidity. The silicone coat would allow the individual more wearing comfort and more possibilities to customise the beard’s design to one’s liking. For the colours of the beard, I had 3 colour schemes in mind, red and purple , so that it would fit with the actor’s clothing, red and black or pure black. Screen Shot 2016-04-14 at 23.45.15 (2)Screen Shot 2016-04-09 at 22.53.48Screen Shot 2016-04-15 at 02.02.09
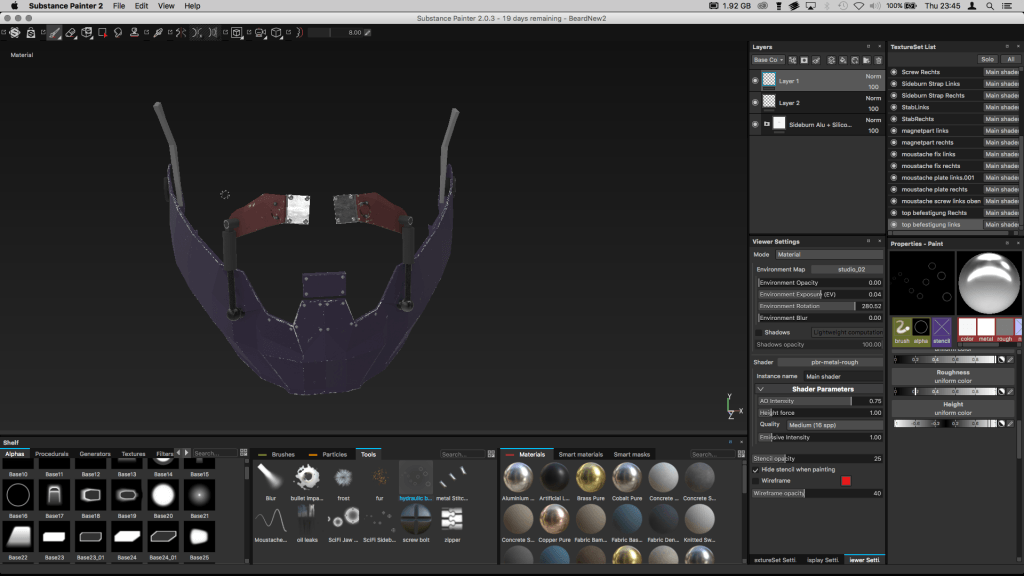
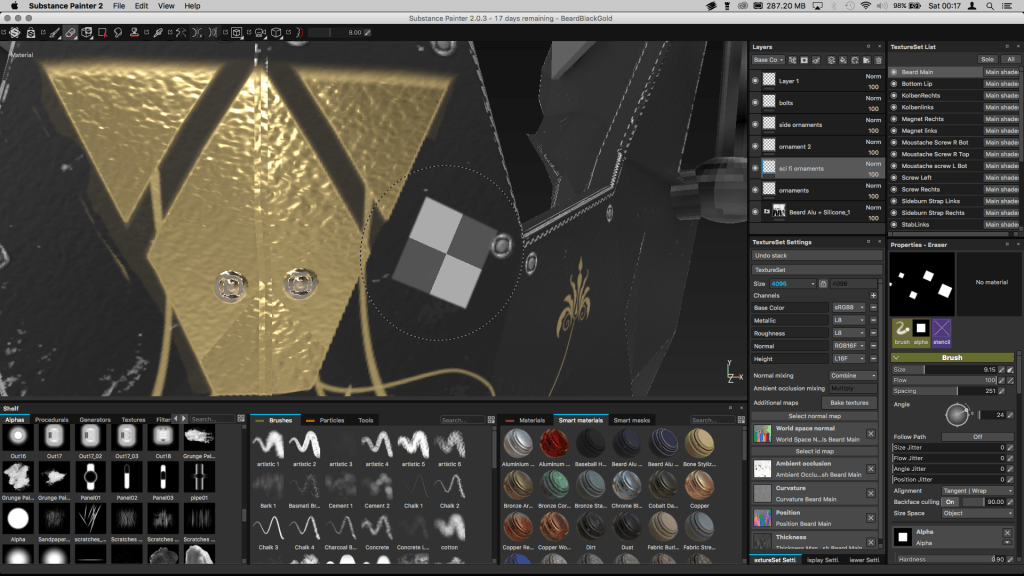
Jacob suggested to put some unisex golden ornaments onto the beard to make it fancier and visually more appealing. I wanted to combine old and new designs so I decided to combine ornamental flowers and leaves with harsh triangular shapes. The ornaments are alpha plates that I downloaded from free-to-use sites and made into a brush in Substance Painter. The final beard’s texture is black with gold ornaments and a few uncoated aluminium pieces.
Screen Shot 2016-04-15 at 06.44.52 Screen Shot 2016-04-16 at 00.17.45 (2)

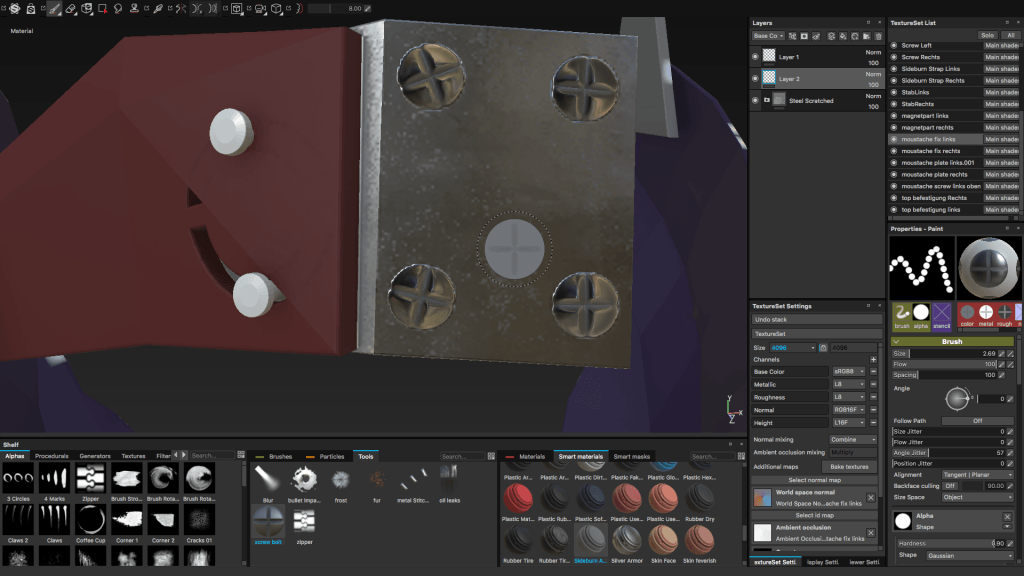
Screen Shot 2016-04-13 at 03.37.26 (2)I used screw brushes in Substance painter to paint screws on to the mesh.

Screen Shot 2016-04-14 at 20.00.41 (2)

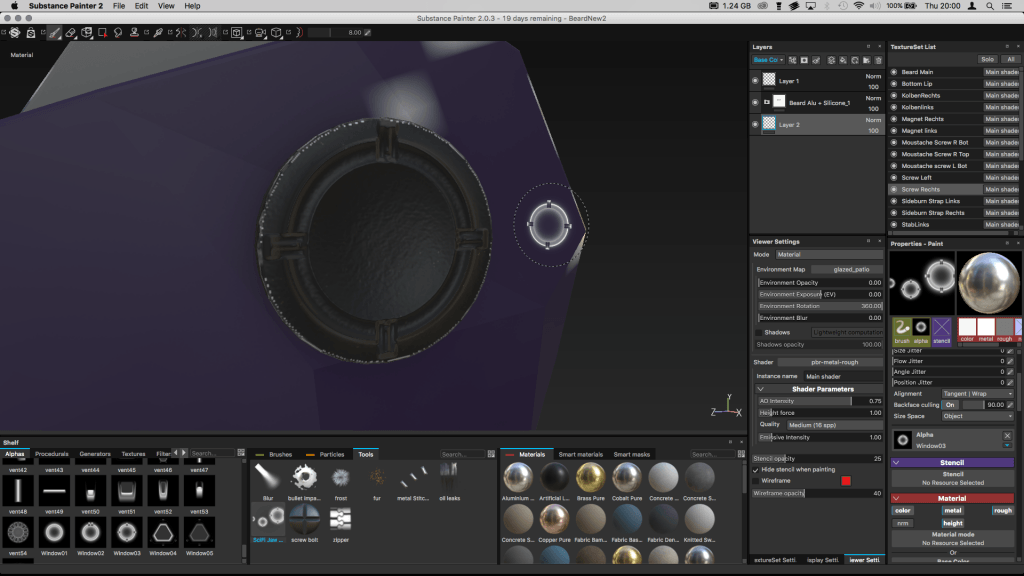
For the screws on the side of the jaw I repurposed a window alpha plate that came with an alpha brush pack from Jonas Ronnegard, that I bought on gumroad. I used this brush pack more for the textures of the Drones.

The final beard – The moustache

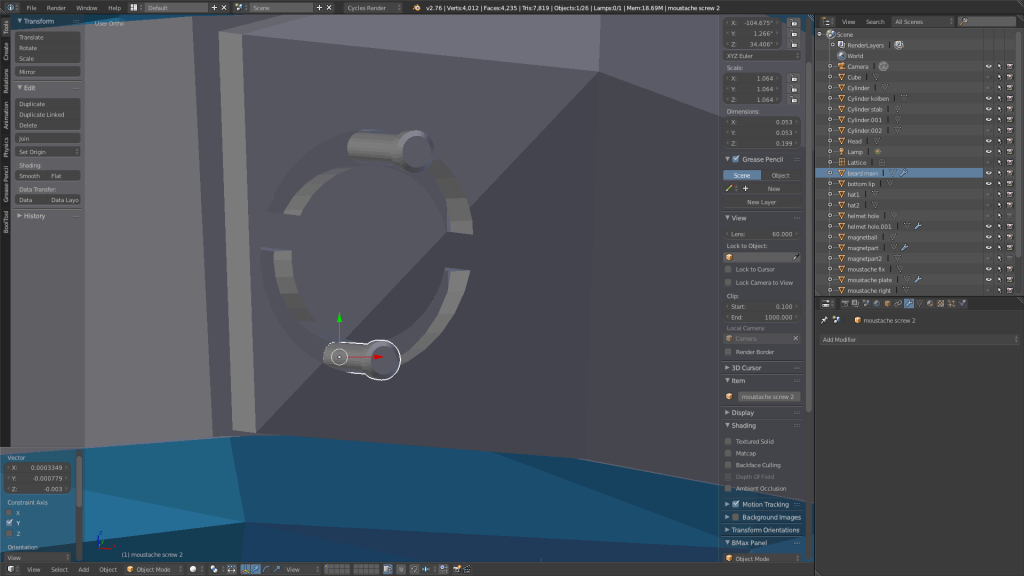
The moustache was meant to be several small metal plates that work like an expandable watch strap. This idea was quickly replaced with another one that was easier and faster to built. The first moustache that I built consisted of  2 metal plates that wold be fixed to the skull an connected to each other with an elastic strap of sorts. This concept had several real-world mistakes in it, which would make the beard not believable. The plates would not be able to move with the natural movement of the upper lip and would be very impractical. Screen Shot 2016-03-15 at 13.42.59 Therefore a 4 plates system was suggested, with 2 plates being fixed to the skull and  2 plates rotating around screws that are on said fixed plates. In order to create 2 half circles that I could then cut out of the main mesh, I had to create the halfcircles first.

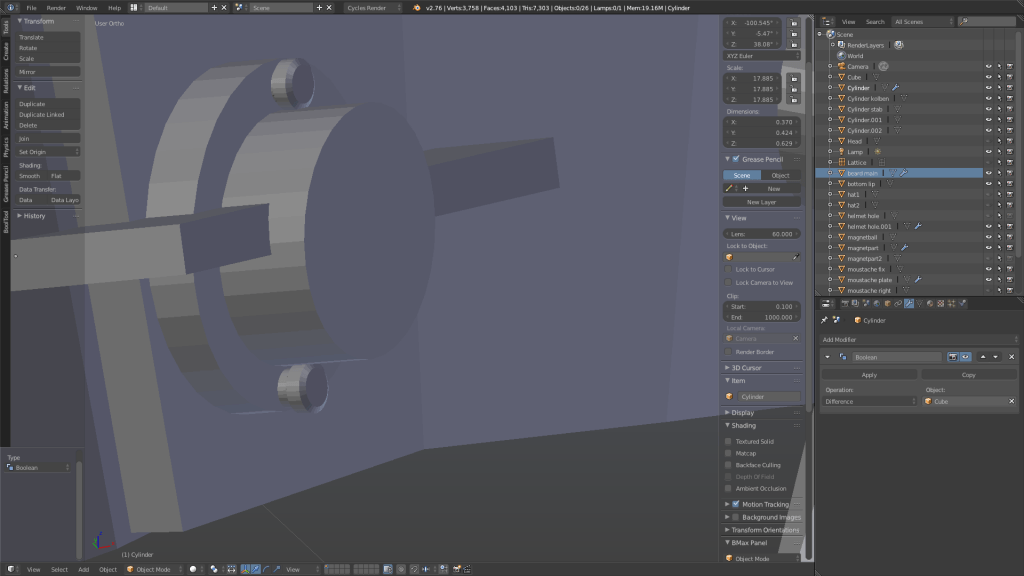
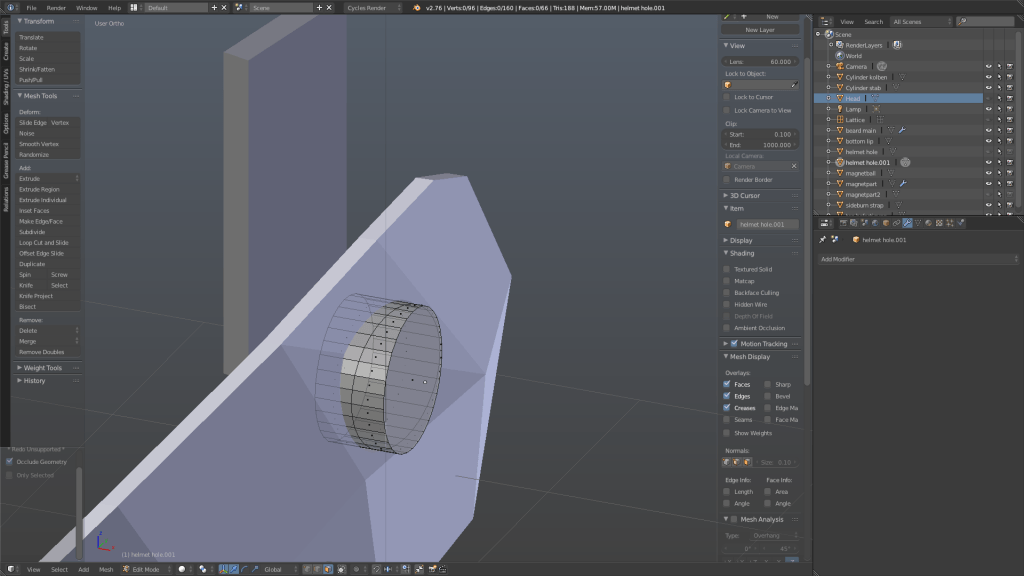
Screen Shot 2016-03-16 at 15.08.10 (2)So I cut a hole into a cylinder with a smaller cylinder by using a boolean operation. Then I used a cube that I scaled, to cut this shape out of the bigger cylinder. This allowed me to break up the cylinder which then will create a break in the half circle cut out. Finally I cut out the half circle shape out of the moustache plate by using a boolean operation again.

Screen Shot 2016-03-16 at 15.14.34 (2)

The final beard – The main part

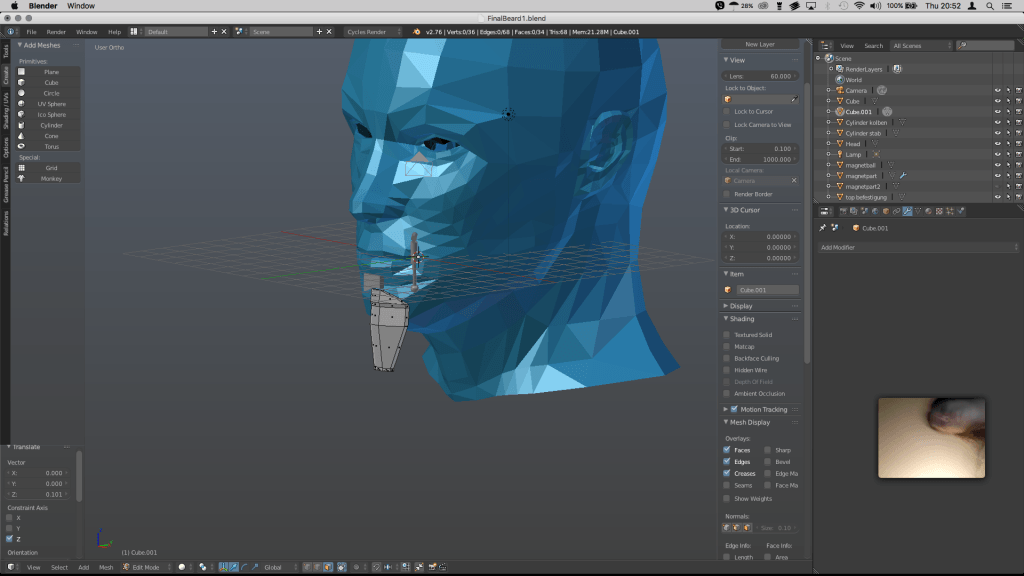
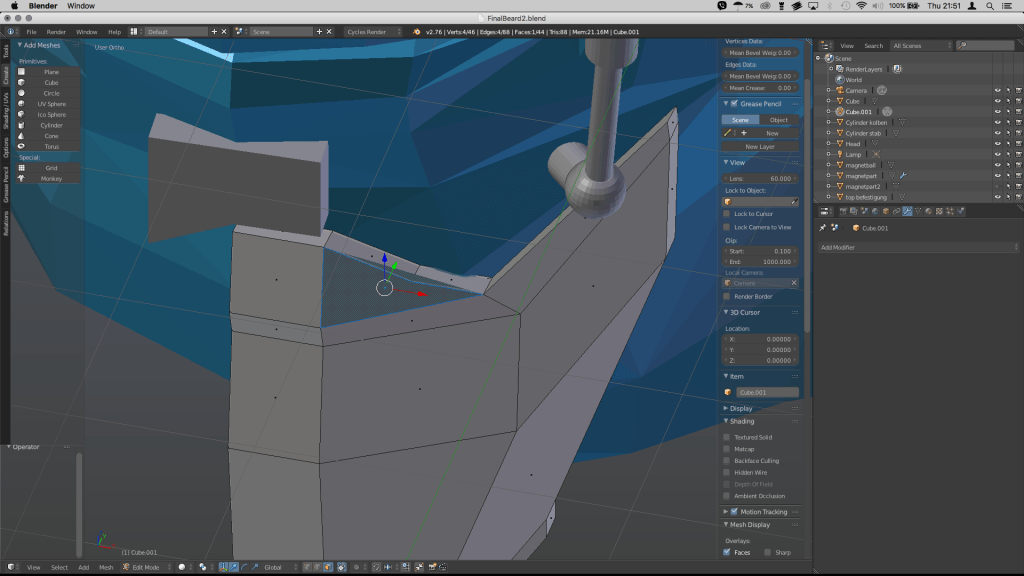
For the main part of the beard I positioned and scaled a cube on the chin of my downloaded male face. I then extruded and positioned faces until I had a shape that I liked.  Screen Shot 2016-03-10 at 20.52.50 (2) I took greatest care to not create n-gons or triangular faces while modelling the beard and positioned edges in a way that it looks like a triangular face, but in fact is not.Screen Shot 2016-03-10 at 21.51.26 (2)

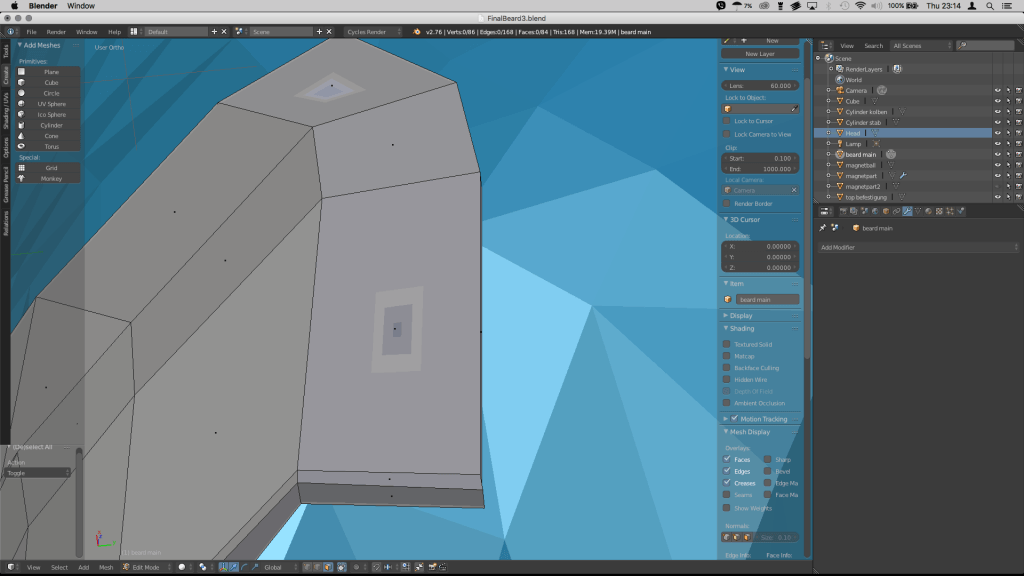
Screen Shot 2016-03-10 at 23.14.34 (2) While I was modelling I came across these surface mistakes. Since I did not want to create any problems later on during the texturing process, I investigated straight away. I found out that this happens when the vertices of a mesh are arranged in a manner that makes face concave. So essentially this happens when a face is not flat. I then proceeded to correct this mistake wherever I found it.

After I was happy with the beard’s look I used a mirror modifier to mirror the mesh and create a full beard.

Screen Shot 2016-03-12 at 22.45.33 (2)

Jacob suggested a plate that would be fixed to the side of the skull and where the main part of the beard could rotate around,imitating the movement of the jaw. So I quickly built a metal plate that would be fixed to the skull with a cube that I scaled and extruded and used a cylinder to create a big screw. I kept the screw’s mesh very simple, because I wanted to use texture to give it its finishing look.

The final beard – hydraulic system

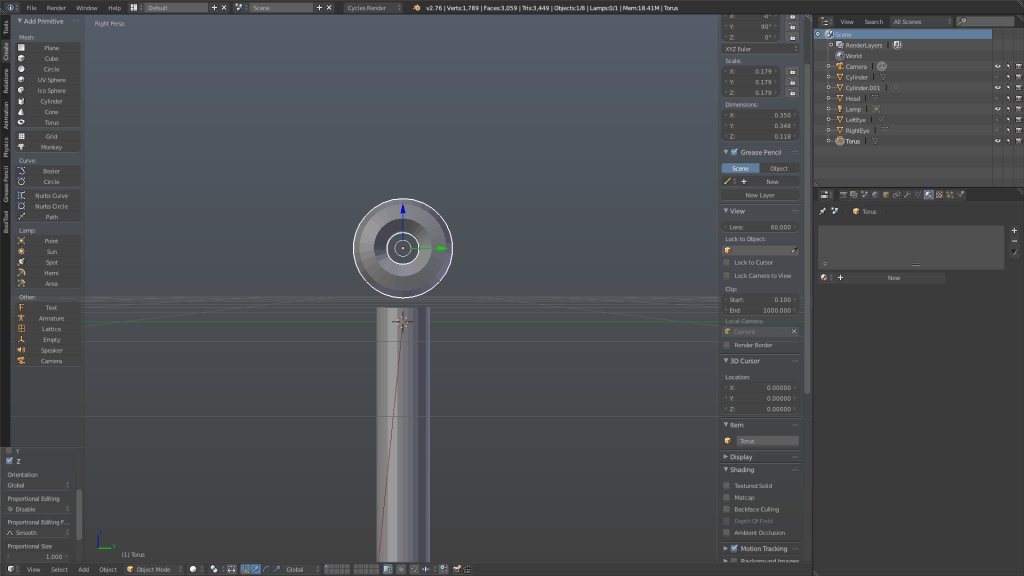
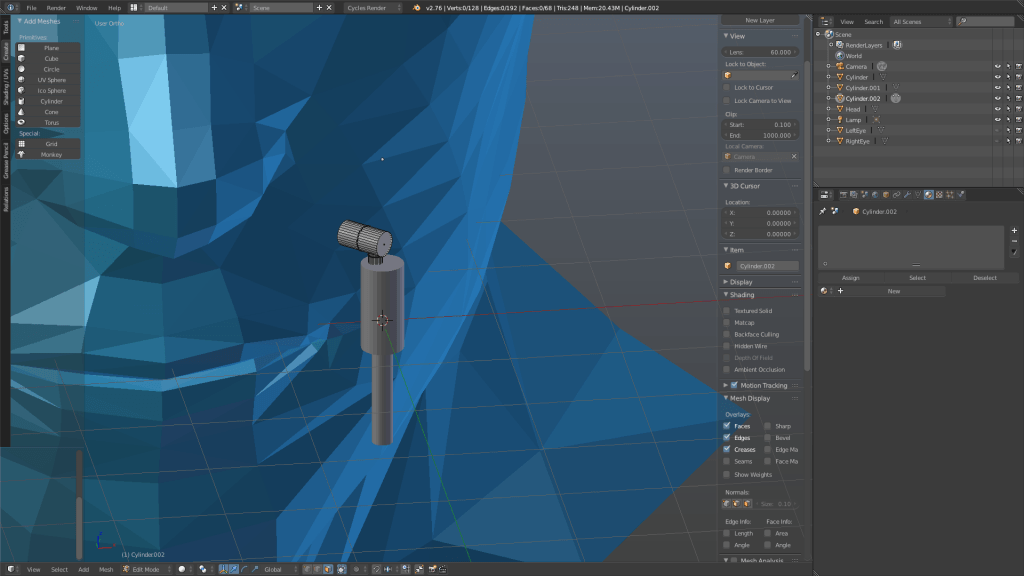
The hydraulic system was relatively easy to build. It consists of only cylinder meshes and spheres, that I positioned, scaled and then joint together.

Screen Shot 2016-03-10 at 18.44.37 (2)

I first attempted to build the upper joint of the pistons like this, but quickly decided that this would use up to much time, because I’d still have to built a screw that this joint can turn around. Hence I decided to simply use a cylinder and put a screw on it with the help of texture.

Screen Shot 2016-03-10 at 18.54.44 (2)

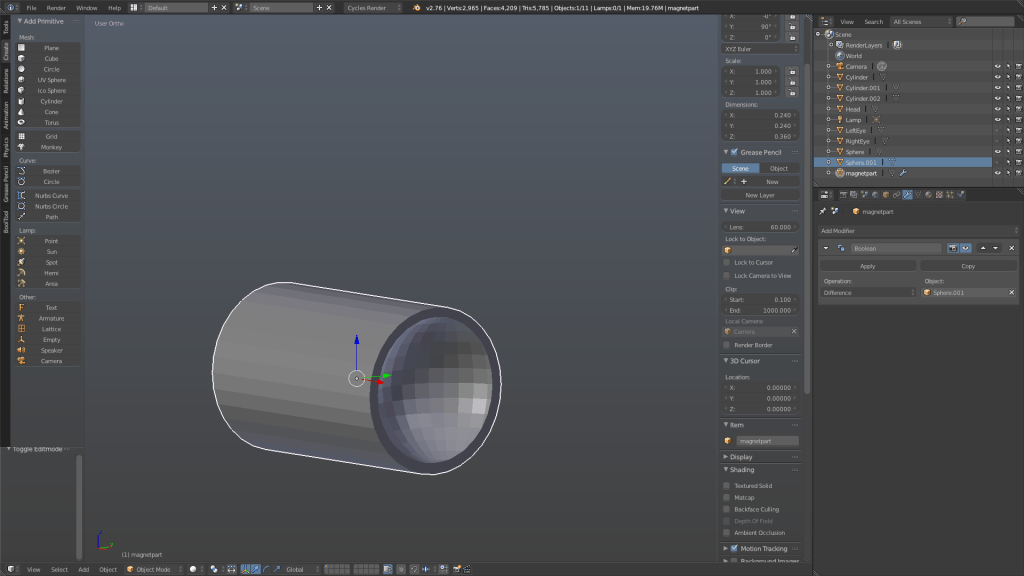
Just for the sake of accuracy I cut out a concave shape out of the lower magnetic ball joint, so that the ball could move freely.Screen Shot 2016-03-10 at 19.44.30 (2) I did this by using a sphere and a boolean operation on a cylinder.

The final beard – sketches

12813933_10206776767790478_2434632240939052284_n

These are my first draft sketches from the new full beard design. Since the mechanical beard would need to get attached to a face I drew a little sketch of a skull and tried to determine where the places are, where one could attach the metal construction with screws to the bone.  For the shape of the beard I took inspiration from the fabulous beards on friends and tutors as well as from a quick google image search of the words ‘full beard’. I thought that the beard should be made of several parts in order to move freely with the wearing person’s head and jaw, so I drew elastic bands, that connect the differnt parts, in between the metal parts that would be screwed to the skull.

12803244_10206784698988753_2714031923857219138_n

Jacob suggested to use expandable watch straps for the moustache parts, so I looked at how expandable watch straps work and what they look like with this video on youtube. This idea was soon replaced by the idea of having metal plates that move with the natural movement of the upper lip. Jon suggested to change the idea, because the watch straps would have needed complicated and time consuming rigging, as well as a lot of time consuming modelling.

The final beard design involved hydraulic cylinders at both sides of the moustache to allow movement between moustache and chin bit. For the hydraulic pistons I looked at existing technologies and tried to recreate them. By chance, I found out about magnetic ball joints and decided to use them on the lower part of the hydraulic system, because it would allow maximum movement and rotation.