Something I completely forgot to address in the production file is the lighting of the textured and matchmoved models.
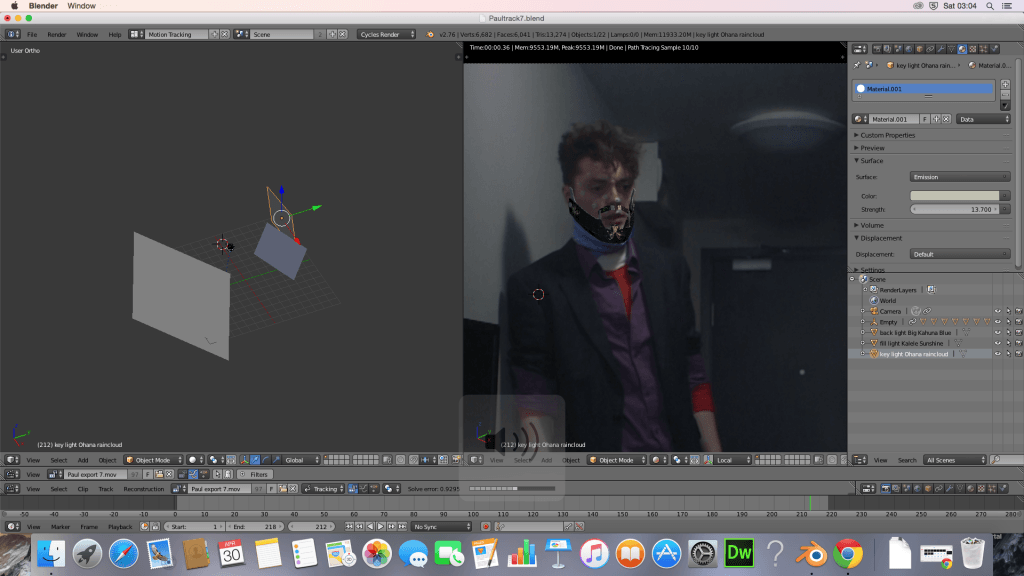
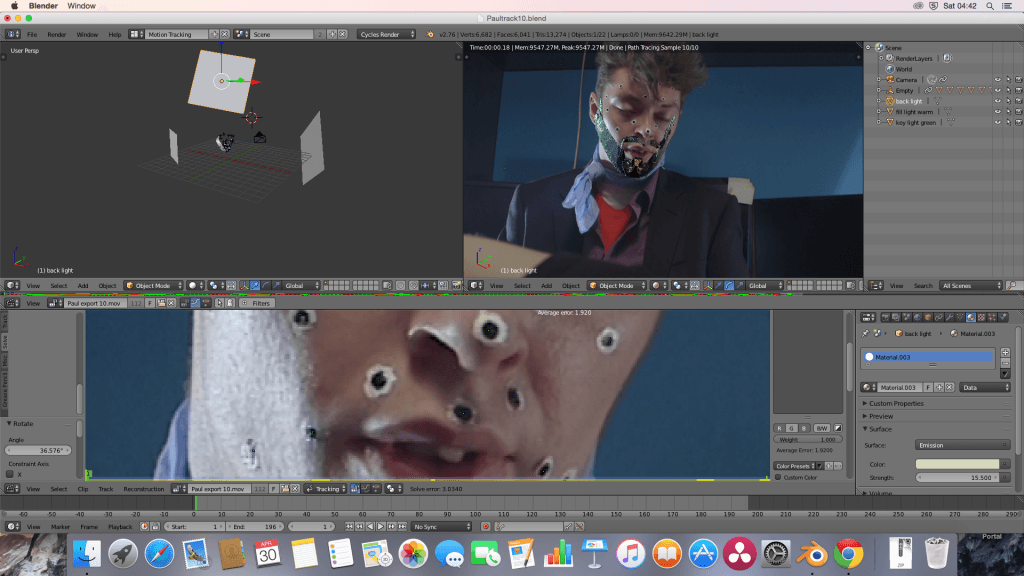
For the lighting in the scenes I made sure to be in cycles render and then I used the commonly used 3-point lighting. So I had a key light, fill light and a backlight that I tried to position the way the lights were positioned on set. In order for me to know where they were, I worked in the digilab with Jacob there, who then told me where the lights were positioned for every scene I had to light. Jacob also told me the colours of the respective lights. I had to adjust the colours and intensity in order for the objects to look believable in the scene and not ‘3D’. I looked at several online tutorials such as this one from Blenderguru and this one , also from Blenderguru to broaden my knowledge about lighting scenes and objects in a 3d space. I used simple planes that I gave a material where I changed its ‘Surface’ value from ‘diffuse’ to ’emission’ in order for it to emit light. I used the colour picker to give the 3D models the right specular colour, so for instance when the beard was lit by the green light I would use the colour picker on the strongest lit point on the actor’s face to get the right shade of green. I then adjusted the size of the plane and the intensity until it looked right.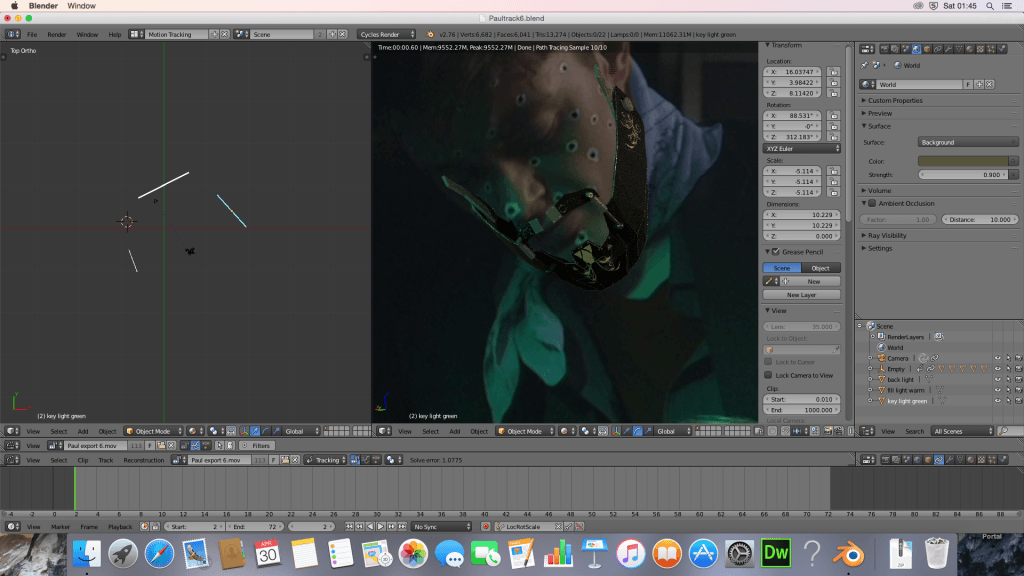
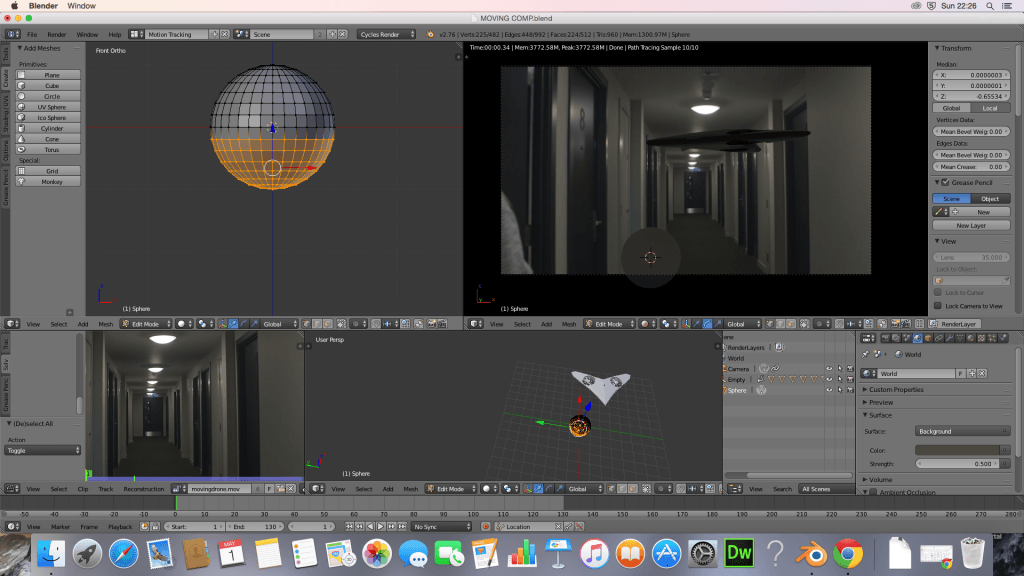
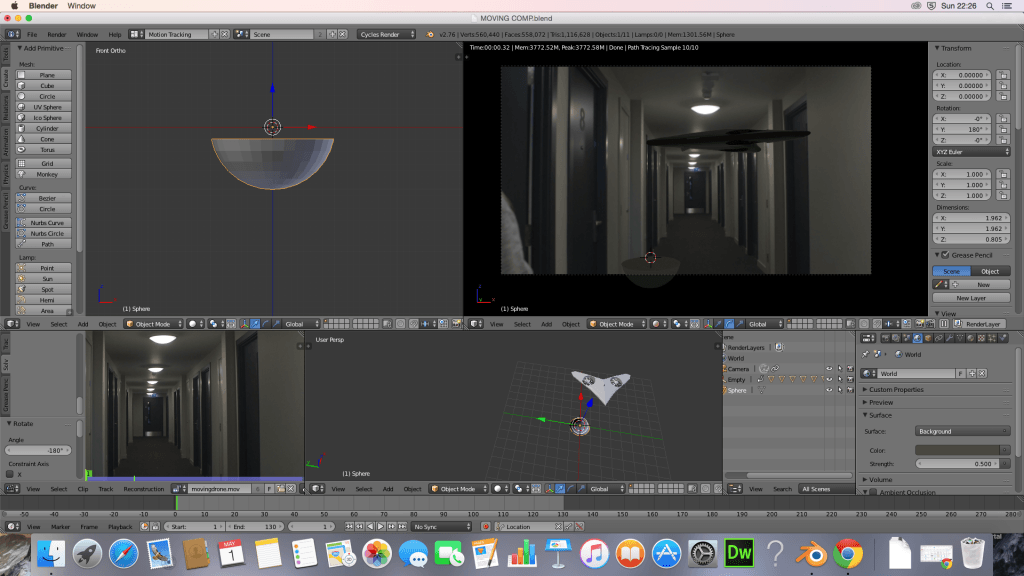
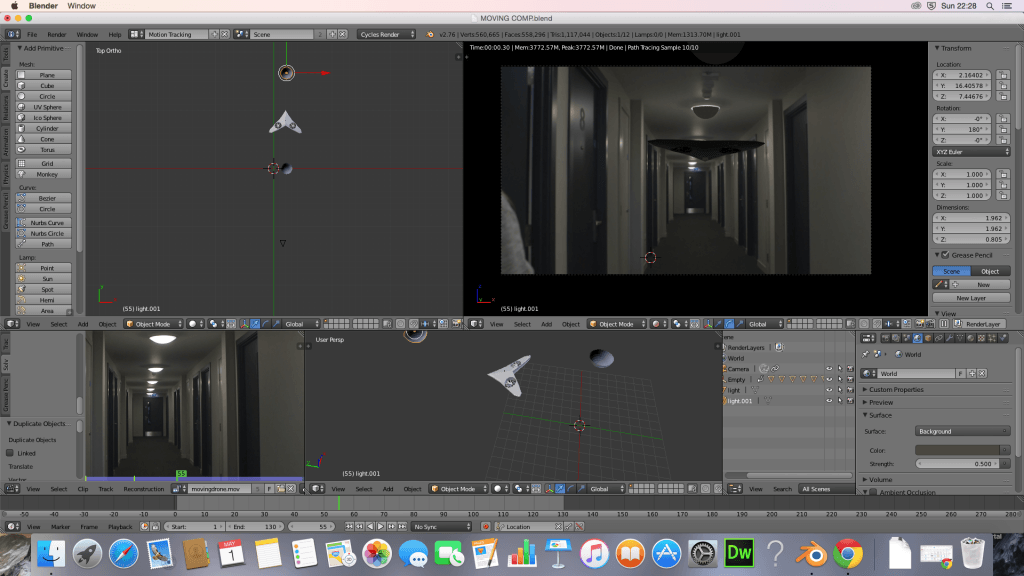
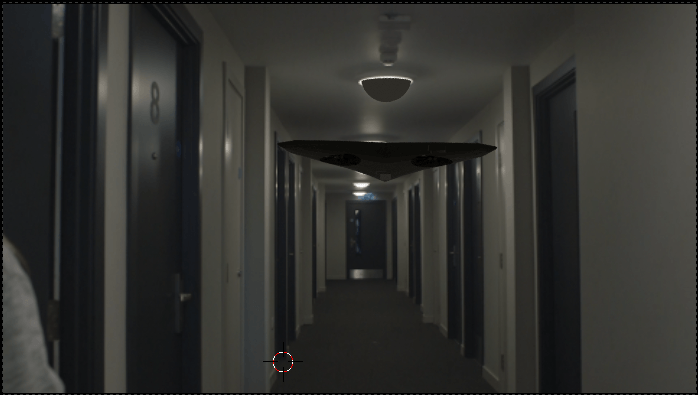
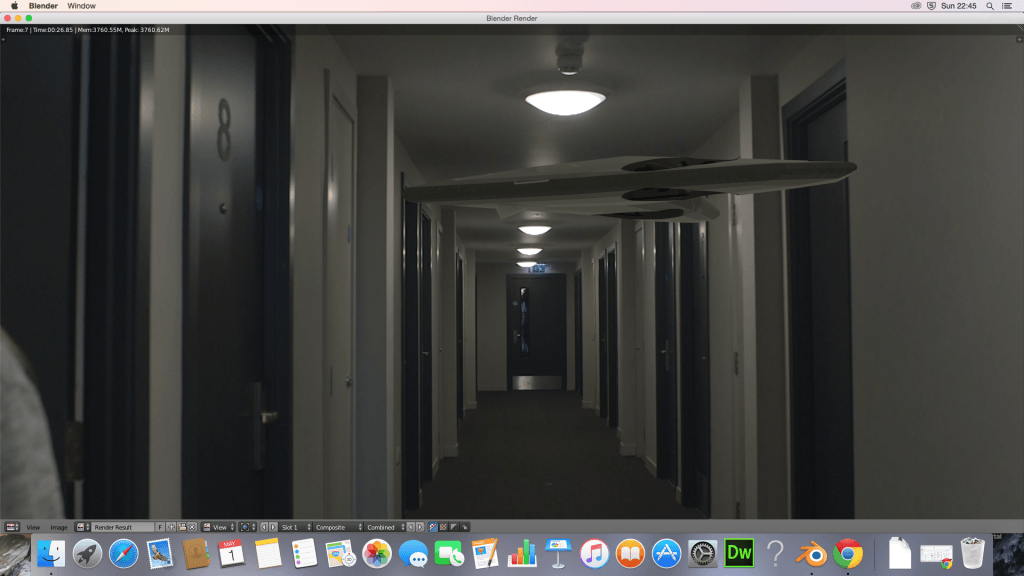
With the following shot I worked in a different manner. Because we can see the lamps that emit the light I cut a sphere in half and positioned these where we can see lamps. I used the colourpicker to give the material the correct colour of the light.
This resulted in a beautiful short section where the drone gets lit and flies out of the light which you can see in the very short test video below
Recent Comments