All the test pieces I did – pyramid-shaped space ship 1st try

20151229_145521

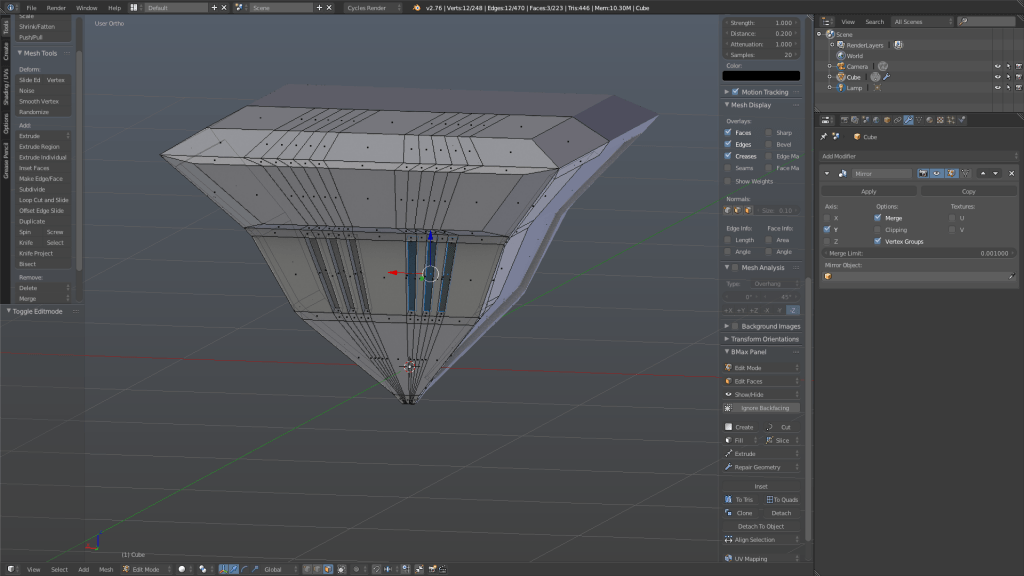
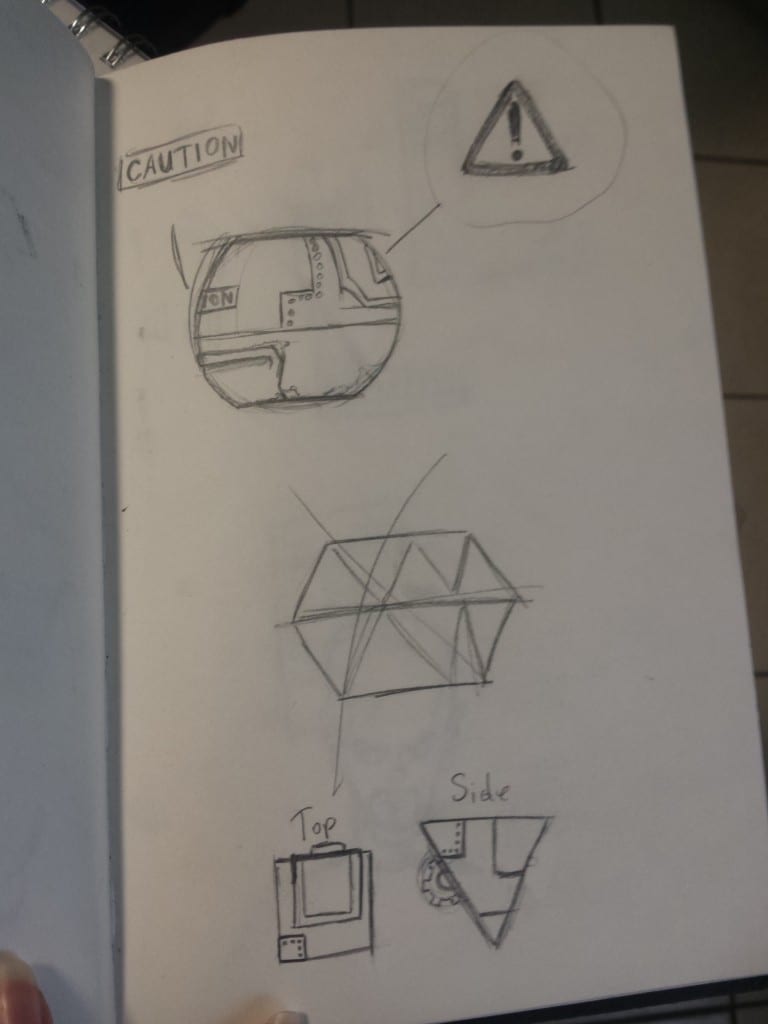
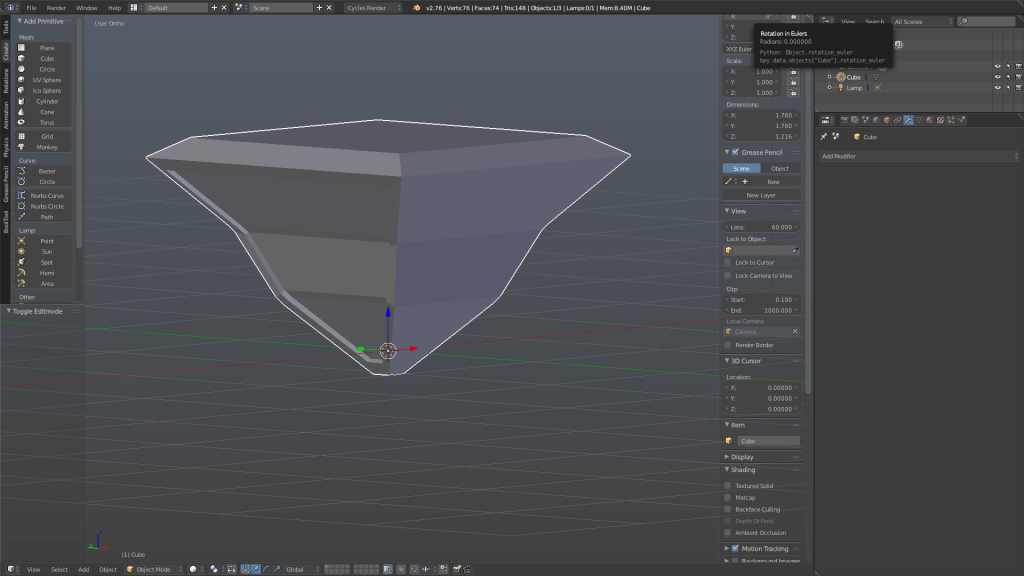
The task for this one was to create the main shape of my space ship or enigmatic object to start with my final piece. I made a few sketches, but wasn’t sure about how to approach this task. So I made the first sketch which was heavily influenced by the BB-8 droid from Star Wars. The shape is hard to recreate in 3D though, because of the flattened top and bottom, as well as the panelled surface. So the second object came into existence, a pyramid flipped upside down, which I imagined to be slowly rotating. This shape was surely more doable, but also probably too easy, and despite that not interesting enough. I still built it in 3D to see if it might look better than what I imagined it. So the way I built it was, I used the start up cube and scaled the bottom face down to create the main diamond shape. I then used extruding out and inwards, scaling and the loop cut function to create the shape below. I also cut the shape in half with box selection and then used a mirror modifier to make sure that the mesh’s symmetry is ensured.

This model was discarded in the end, because it isn’t interesting enough visually and didn’t fit into the main idea of a steampunk-y space ship. The style this shape gives the viewer is quite sci-fi one, because of the harsh edges and corners.

Screen Shot 2015-11-30 at 08.27.18 (2) Screen Shot 2015-11-30 at 08.59.31 (2)

All the test pieces I did – just messing around in blender

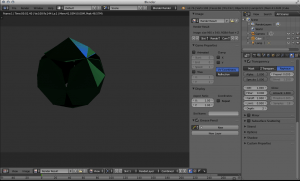
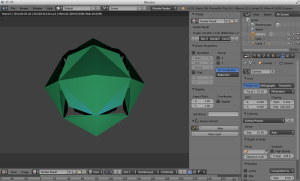
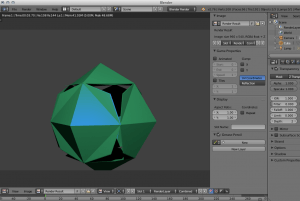
Before working on any projects I played around with the software without having watched tutorials beforehand. The result is following : Screen Shot 2015-10-14 at 10.00.10 Screen Shot 2015-10-14 at 10.02.31 Screen Shot 2015-10-14 at 10.06.02 Screen Shot 2015-10-14 at 10.08.39

To be honest I’m not entirely sure how I created this object. It looks interesting, but I’m sure that it’s full of mistake that would make working with it, let alone texturing it, impossible.  I think I used pretty much every modifier there is, because I remember just going through the list. And unfortunately I applied them all before saving the project, so there is no way for me to find out what I did.

Screen Shot 2015-12-29 at 13.38.37
What I CAN talk about though is the material. I played around with the material in a way that I knew from Cinema 4D. I didn’t know about nodes and node trees at that point so I used the settings in the side panel. I created a new material, changed the diffuse colour and the specular colour and created a green material with a blue gleam. I then turned on the transparency and played around with those settings. This all together playing around with the software allowed me to get a feel for where certain settings are. I also relearned what ‘Diffuse’ and ‘Specular’ do.

All the test pieces I did – a Coffee mug

I’ve done quite a few test pieces for various skill sets such as tracking, 3d modelling etc.

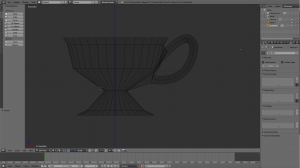
The first tutorial I followed was a simple beginner’s tutorial for Blender, where you build a simple cup.

I followed the steps, but did create the shape of the coffee mug differently, which in the end made attaching the handle more difficult. I had holes in the mesh of the handle and distortion in the surface in form of pale triangles.
Screen Shot 2015-10-12 at 01.13.58


With this tutorial I learnt to use the basics of Blender and mesh modelling, such as extruding inwards, scaling and adding modifiers to a mesh such as the Subdivision Surface modifier. In hindsight I can safely say that my love for and overuse of subdivision surface modifier later in my final piece probably derived from this early tutorial. Before having a go at this tutorial I watched several ‘getting used to the interface of Blender’ and ‘first steps in mesh modelling’ kind of videos on youtube such as this one: https://www.youtube.com/watch?v=hcpfCrQWHA8


All the things I didn’t put on my blog, but should have – Part 1

My Proposal

I’ve written my proposal in about week 5 or 6,because my tutor told me to do it as early as possible which was really good on hindsight.

What is the intended idea/concept of the project?

I intend to create a dynamic showreel showing my skills in 3D
modelling, texturing, and matchmoving for visual effects using
a science fiction overall theme with steampunk elements to fully
exploit the possibility of creating photorealistic textures that tell
the object’s story. I plan on creating a semi-complex model that
I’ll put into a short urban scene. This so called ‘matchmoving’
is generally the traditional entry route for VFX artists, combines
texturing, modelling and putting the object into moving footage
and is therefore a valuable skill to have.

Describe the intended audience:

My intended audience is potential employers, visual effects
companies as well as computer generated image companies that
I can send my showreel to or that might discover my work on
video streaming websites such as youtube and vimeo or in dedicated
forums.

How will this project extend your creative and technical
skills?

I switched from Cinema 4D to Blender. This software swap already
challenges me in a great way of relearning how to model
in Blender and getting used to the program. I have general
knowledge about 3D modelling, but have never learned about
texturing, UV unwrapping, realistic lighting or matchmoving.
I was taught the basics of modelling, but everything else I taught
myself by watching, reading and following tutorials. Therefore
creating this showreel is a great opportunity to learn the basics
of the before mentioned VFX skill set.
I want my showreel to stick out, so I will come up with a very
short story for the object I created, preferably raising a question
or talking about an age old question or topic such as ‘Nature vs.
Human’. This allows me to challenge myself with coming up with
creative ideas for an enigmatic object, that isn’t too complex to
understand in roughly 30 seconds.

What other work (by animators, designers, film-makers,
writers, digital media producers, etc.) is relevant to your
project? (This work may either be relevant for its conceptual,
inspirational or technical similarity):

I have looked at several VFX studios such as ‘The Mill’, ‘Cinesite’,
‘Double Negative’, ‘milk’ and ‘Zeilt Productions’. I looked at
their showreels and noticed that although these vary from 2 minutes
to 5 minutes in length, they do share one common trait: The
footage snippets showing the VFX work are all very short and
snappy, straight to the point. I also looked at David Elwell, Jacob
Flint and Maxwell Smith’s showreels, that are each roughly a minute
long and have come to like David Elwell’s Stålenhag best.
It is a simple and short concept, but it does tell a story and raises
questions such as ‘What is that object?’, ‘What is it doing in that
field?’, What is that man doing with the box he takes out of the
object?’ and many more. This effect of leaving the spectator with
questions is exactly what I wish to create with my showreel. Binding
a story to the showreel makes it stick out of the crowd of the
many ‘here is all my work, look what I can do’ presentations that
flood youtube and makes the work stick with the viewer. An enigmatic
object in moving footage also shows all of the VFX skills
you need to get started in the working world.
Microchip

I am rather rubbish at keeping my blog up to date, but I’ll try my best to put everything on here.

My Research and Development group wanted to use everyone’s area of expertise as much as they could, so that no one would feel left out and so the workload spread naturally and evenly. So my job in the group was anything visual, except for the promo video that we have done. I designed every logo and piece of merchandise we needed and intended to use. Approximately one and a half weeks before our presentation date my group told me that they wanted an animated 3D model of a brain implant distributed by a fictional company called Saylor Industries. So I spent week 8 and 9 of Semester A trying to figure out Blender a little more while simultaneously building something remotely decent looking. Our group ‘leader’ told me what he wanted the microchip to look like. His guidelines were: ‘ Just make it look like a microchip that Google or Apple would have made to control your mind. Very nice looking, maybe all white, with their logo on it.’


I looked up microchips and brain implants to get a better idea of what it should look like and noticed that actual brain implants look rather like a tiny mechanical pill than anything close to a microchip. So I used my artistic freedom and made the model look like a microchip instead. The reason behind that decision was, a tiny cube with pointy metal rods sticking out of it, that is supposed to pierce the squishy substance that is our grey matter, is more intimidating and frightening than a sleek pill-shaped object the size of a grain of rice. I also wanted to give the microchip an even more unsettling look and therefore tried to make it look like a bug or a spider, by giving it thick leg-like metal rods.

To create the microchip I used basic techniques such as scaling and extruding faces from the base cube. When my model was done I tried to apply what I learned about UV unwrapping in the Unreal Engine 4 workshops, but came across a problem when I UV unwrapped. The individual faces of the model were scattered all over the place. I tried to find out what I had done wrong by randomly pressing buttons, but that of course didn’t resolve the problem. After giving my laptop to Jon Holmes to ask for help, the problem was solved in less than 1 minute. It turned out that I just simply forgot to apply rotation and scale before I UV unwrapped. I spent hours on trying to fix this problem and am still amazed that it was only two clicks that I forgot to do. From then on I very rarely forget to apply rotation and scale before unwrapping. But if I do, I remember this and immediately know how to fix it. Now when I worked on this model , I was still quite clueless about how Blender works and therefore played around with it quite a bit until I either had to ask for help to fix it or achieved a likeable result I didn’t know how I achieved. So I’ll try my best to explain the mistakes I made and how I fixed them.

microSaylorUV

Above you can see that I exported the model’s UV map and put the Saylor Industries logo on it using photshop. I wanted to emboss the logo into the surface of the microchip, the way Apple does it on their laptop chargers. In order to do that I followed a tutorial on youtube that suggested that there is a very quick and super easy way to do that. I created a new material, then a new texture, uploaded the texture file from above, scrolled down in the texture setting window, went to ‘Geometry’, switched on ‘Normal’ value and that was it. And then the above right happened. In the tutorial it doesn’t say how you can tell the texture to wrap around the object with the help of the UV data, so what Blender did was handle the texture like a normal flat jpeg and wrap it around the mesh without recognizing and allocating the seperate panels. When I realised that, I put the Saylor logo on a 4096×4096 white panel and recreated the steps from earlier. And that worked fine, the way the tutorial promised. But when I rendered it there was nothing, the logo wasn’t visible in the slightest, so I deemed this tutorial not helpful and a bit of a waste of time.

After that I tried to find other tutorials that could help me and found an easy to recreate tutorial on youtube about how to make glossy plastic in Blender. This tutorial worked flawless and I was able to create a glossy white plastic material for my microchip. I then created an image texture node, uploaded my Saylor Industries logo from earlier and plugged it into the top Diffuse node. This left me with the finished microchip. This tutorial helped me a lot with understanding how the node tree works, because I really didn’t know how to use it, even though I knew what certain things do. The last thing I had to do for this project was to animate it. Thankfully the animation needed was a simple rotation for about 30 seconds. I have done similar animations back in school with Cinema4D, so it was only a matter of finding the buttons and settings, this tutorial helped me with that. Below you find the finished animation that was then used in a fictional promo video for Saylor Industries implants.