In the early stages of the project I thought that I had to do the matchmoving along with my modelling and texturing process. So, in order to remember how to do matchmoving I tracked the free footage that I used in the first semester, downloaded from hollywoodcamerawork.com . I quickly got the hang of normal camera tracking again and was confident that I could do it for the short movie. 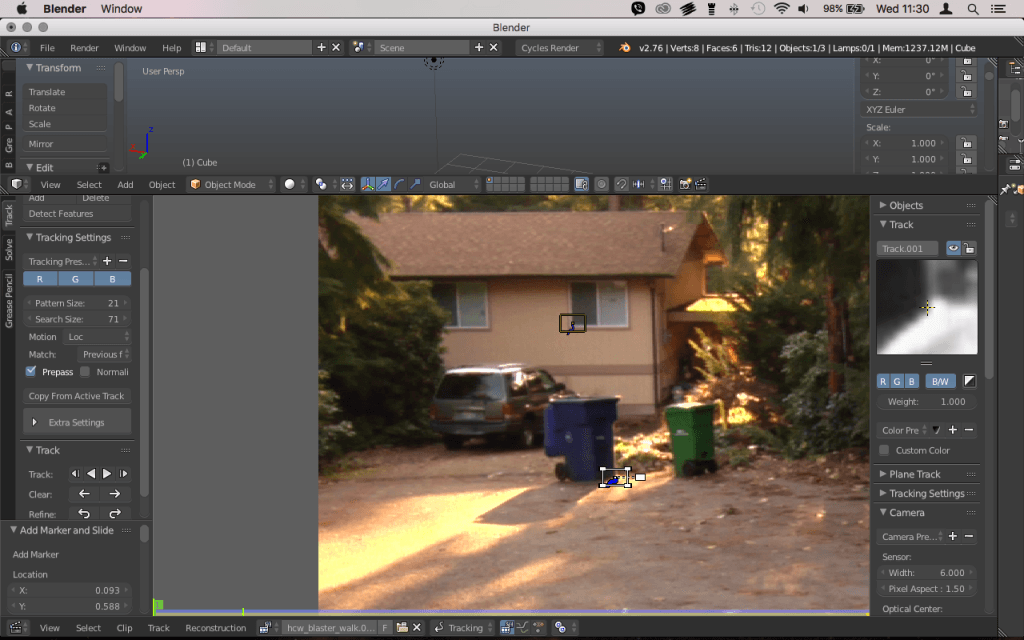
Together with James, we tried out facial tracking, since at that point none of us knew how to do it, and if and how much it differs from camera tracking. James completely relied on me finding that out and testing it out at that point. I tried tracking my face the way I know it from camera tracking. The footage was filmed with James’ iphone and all in one go. So, I imported the footage of me moving my head into premiere pro and cut it up into small mere seconds footage, in order to make it more trackable in blender. James then used the footage to learn how to track in Blender and later on how to do facial tracking in Blender. 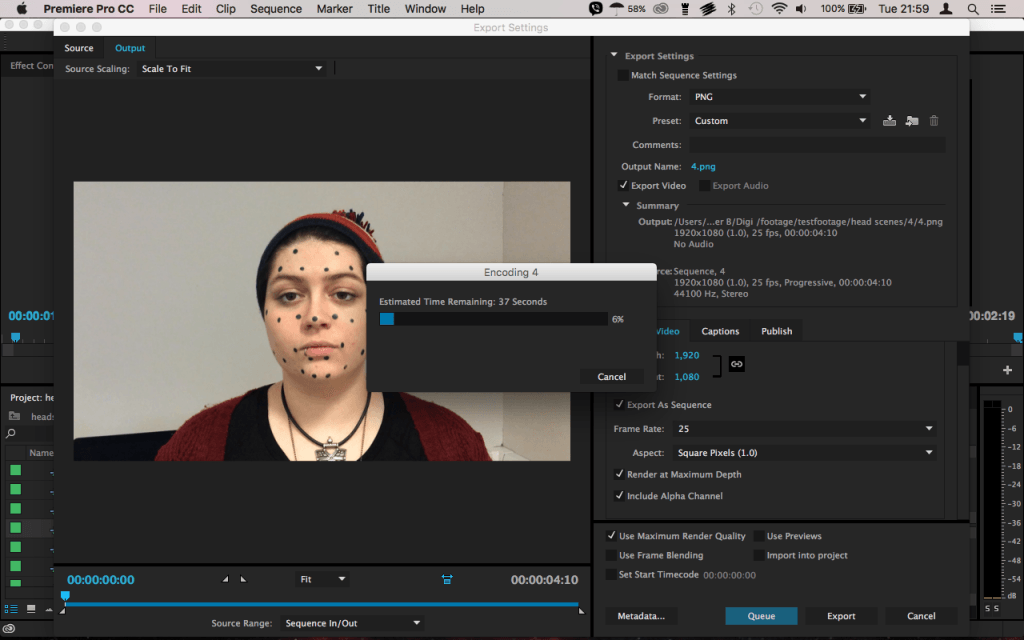
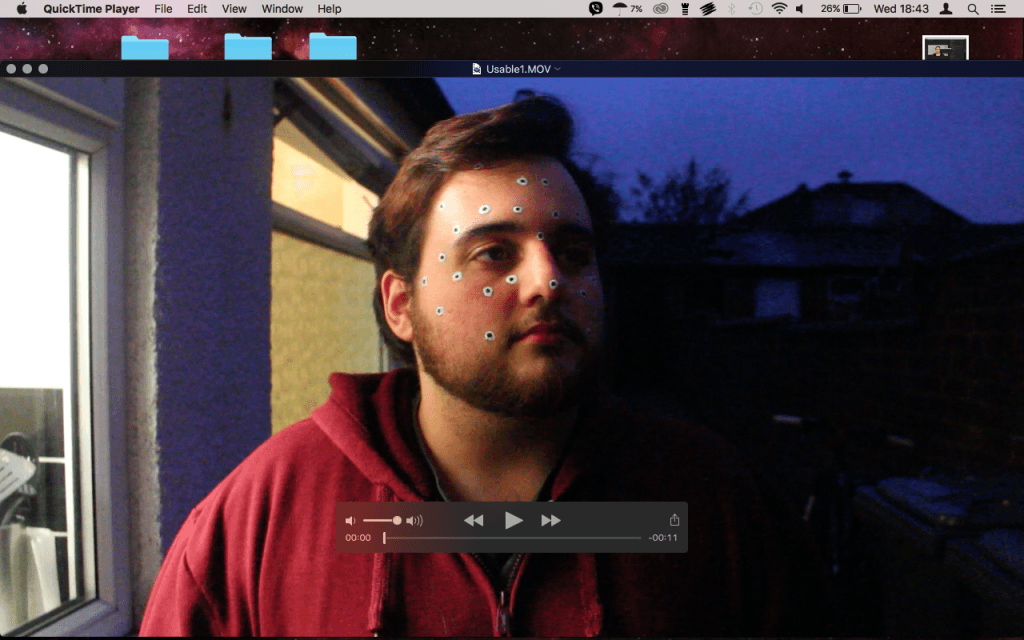
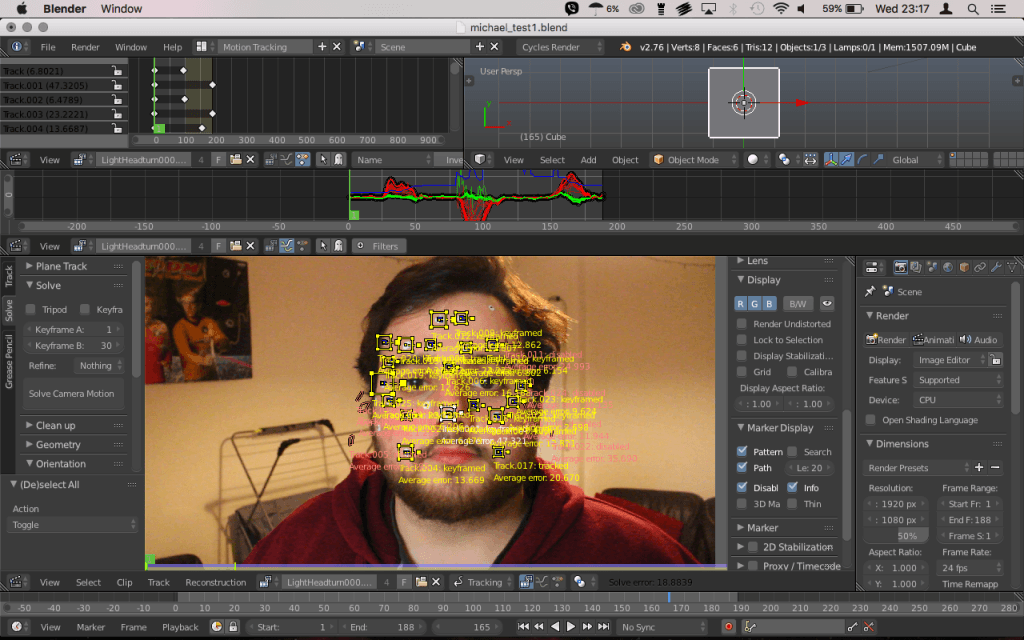
Once I was at home I wanted to see what colour the tracking markers on skin should have in order to be trackable. Since I saw white markers on white skin, blue markers on white skin and black markers on white skin when doing my research, I wasn’t sure which would be the best and the right approach, so I got white and black paint and asked my housemate to lend me his face and his camera for an evening. This test was done in quite a haste, because we were due to shoot the night scenes where we needed tracking points only a few hours later. It turned out that black on white tracking markers worked best, I tried different lighting conditions as the shoot that these wood be needed for, would happen in the dark and be lit by nothing but orange street lights.
The bad quality of the footage made it not too easy to track but I got it done eventually.
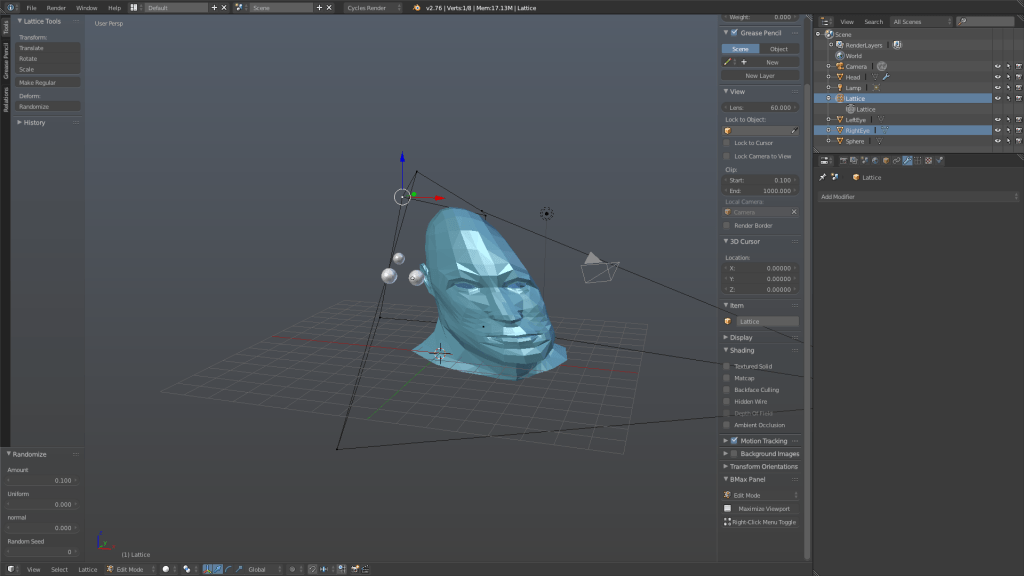
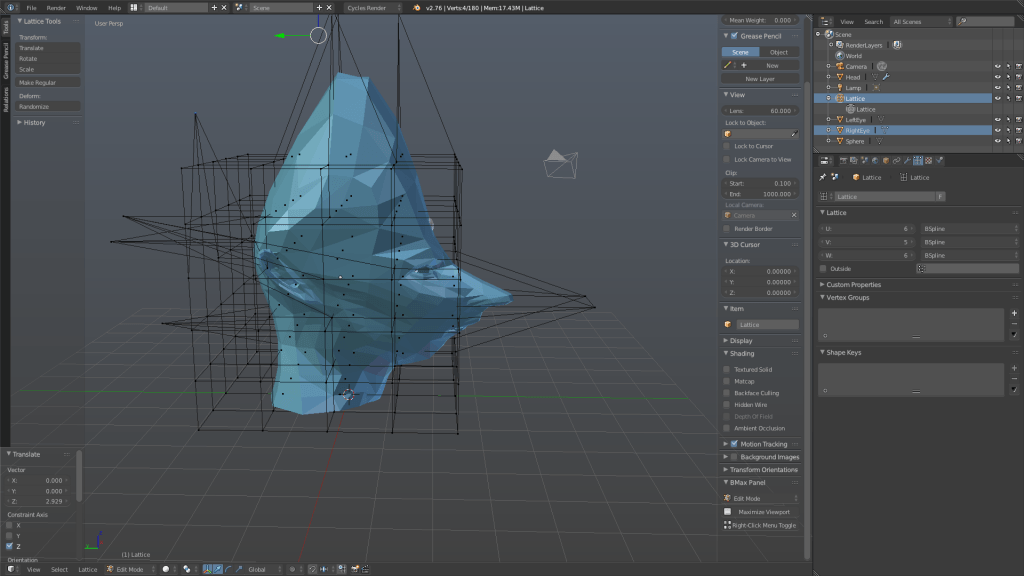
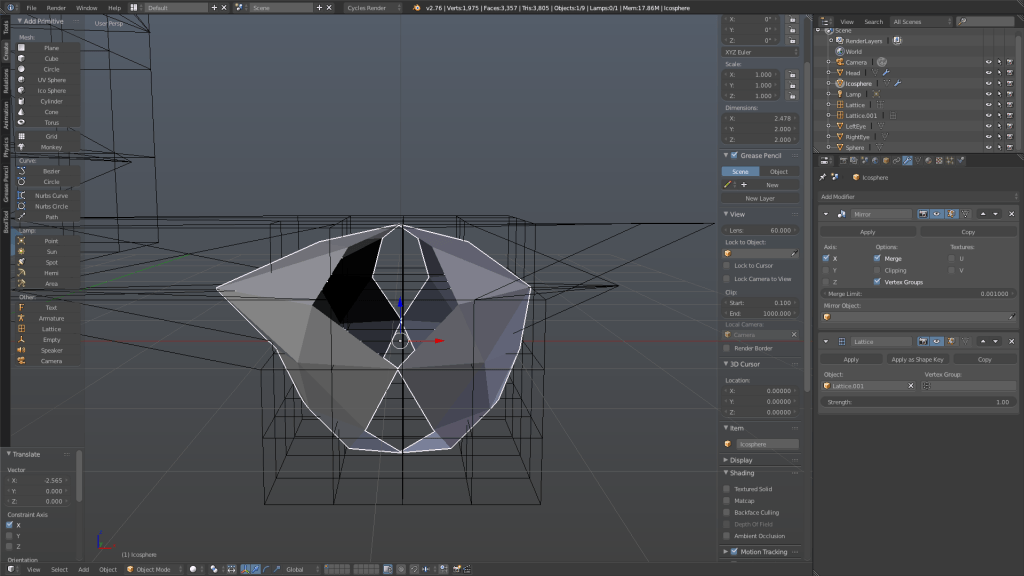
Jon suggested to use the lattice tool to warp my beard model to our actor’s face. I followed a tutorial on youtube and read about the lattice tool on wikibooks. I used the 3d model that I downloaded to try out the lattice tool and got the hang of it quite quickly. I remembered that I used a mirror modifier on the beard mesh, which I applied. So I wanted to see if that affects the lattice tool in any way. I used a low poly sphere, cut it in half and used a mirror modifier on it which I then applied. I then used the lattice tool on it and noticed that it creates a whole in the middle where the 2 halfs of the sphere should connect.
Recent Comments